This support article pertains to the SiteNow v1 platform. Click here for SiteNow v2 documentation.
Note: The Facebook Like Box is only available for Facebook Pages. Facebook Groups are not supported.
- Go to the page you would like to add a Facebook Like Box content pane to. At the bottom of the page, in the middle, click the button that reads 'Customize this page.'
- Find the blue 'Content' box that should appear near the top of the screen, and click the plus button inside of the box, on the right.

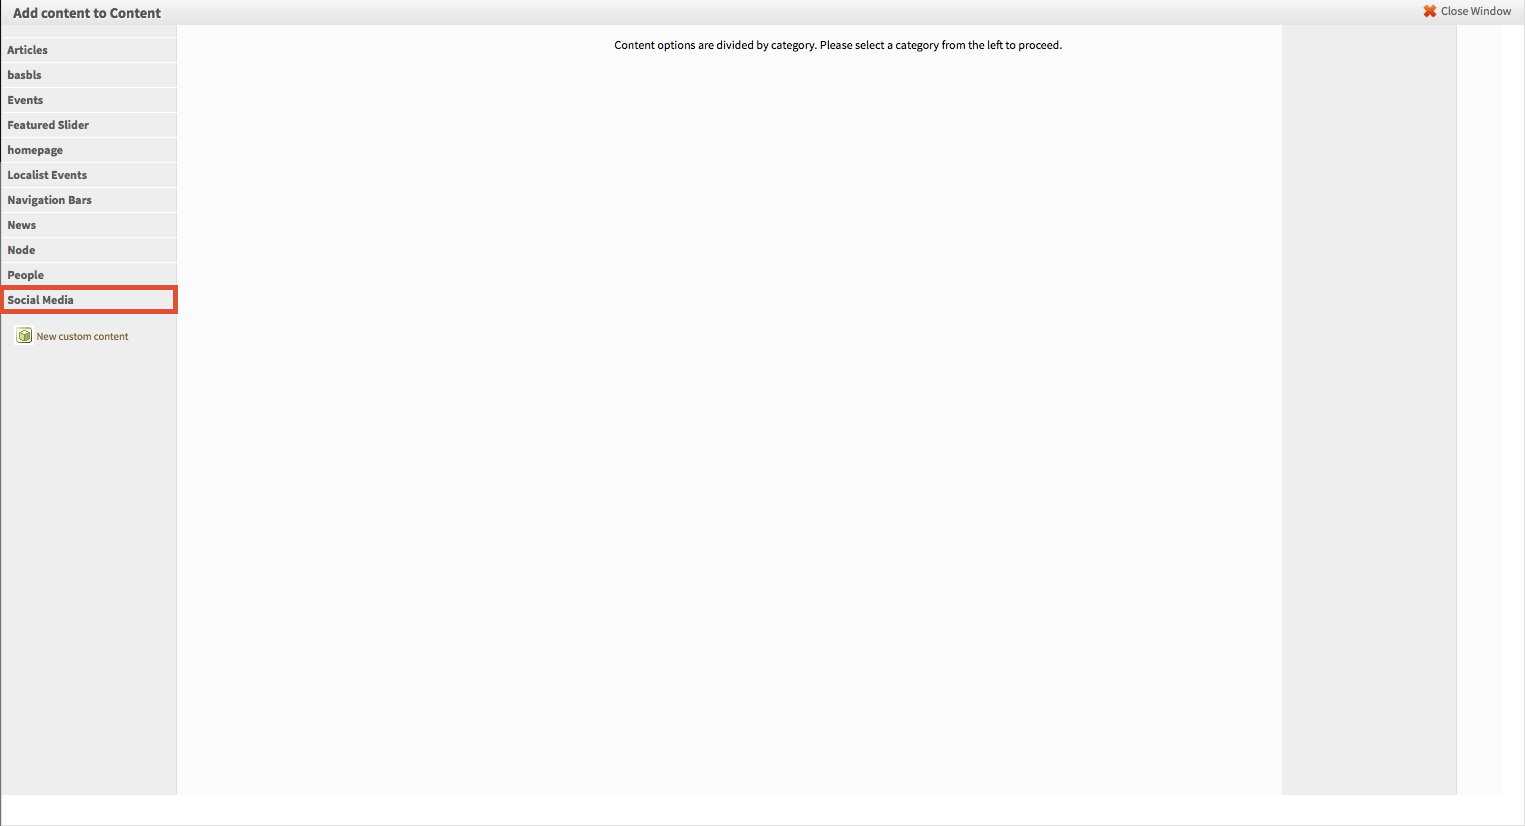
- On the 'Add Content' overlay that pops up, there is a list of content pane types on the left. Click on the "Social Media" tab, towards the bottom.
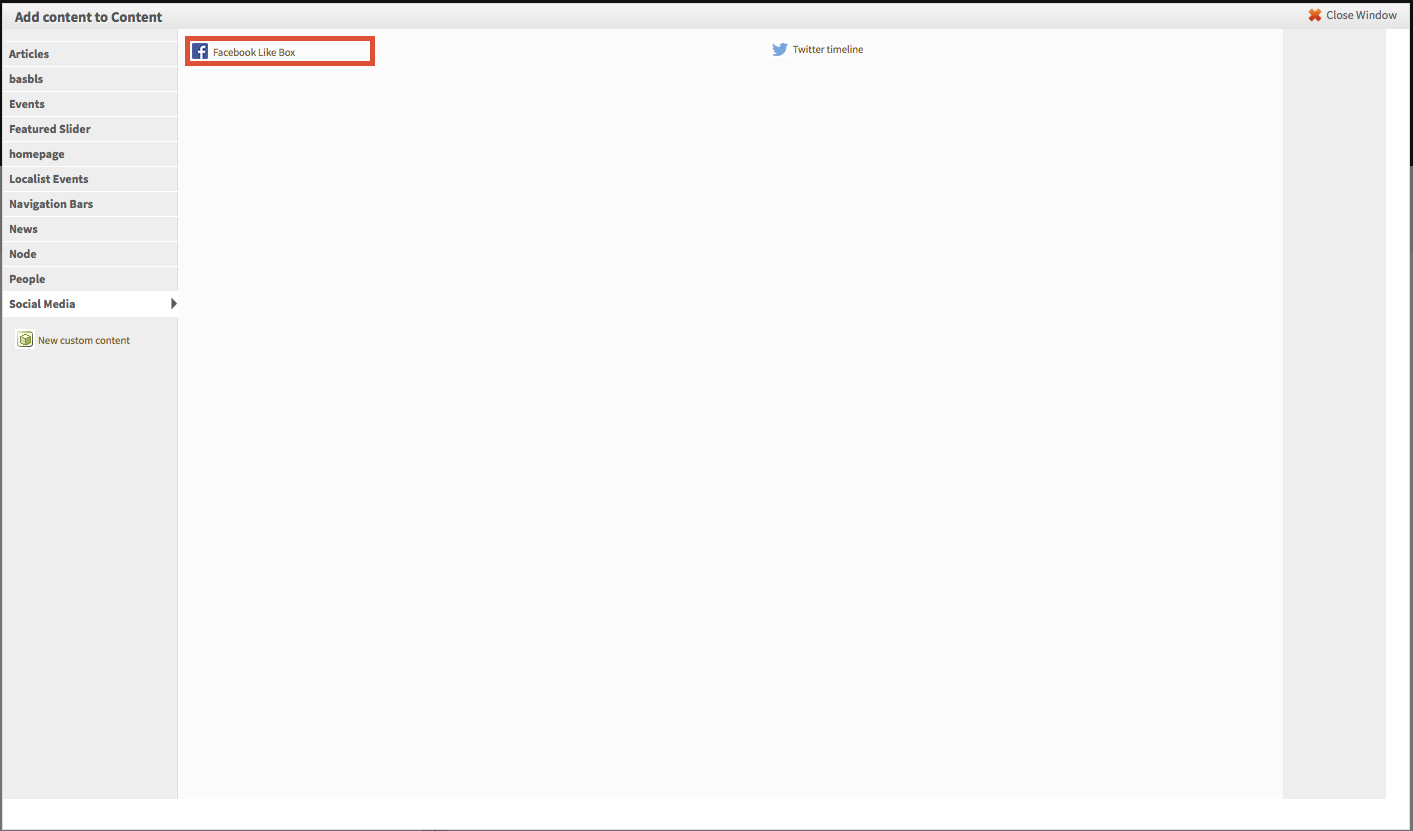
- Click the desired type of social media link (in this case "Facebook Like Box")
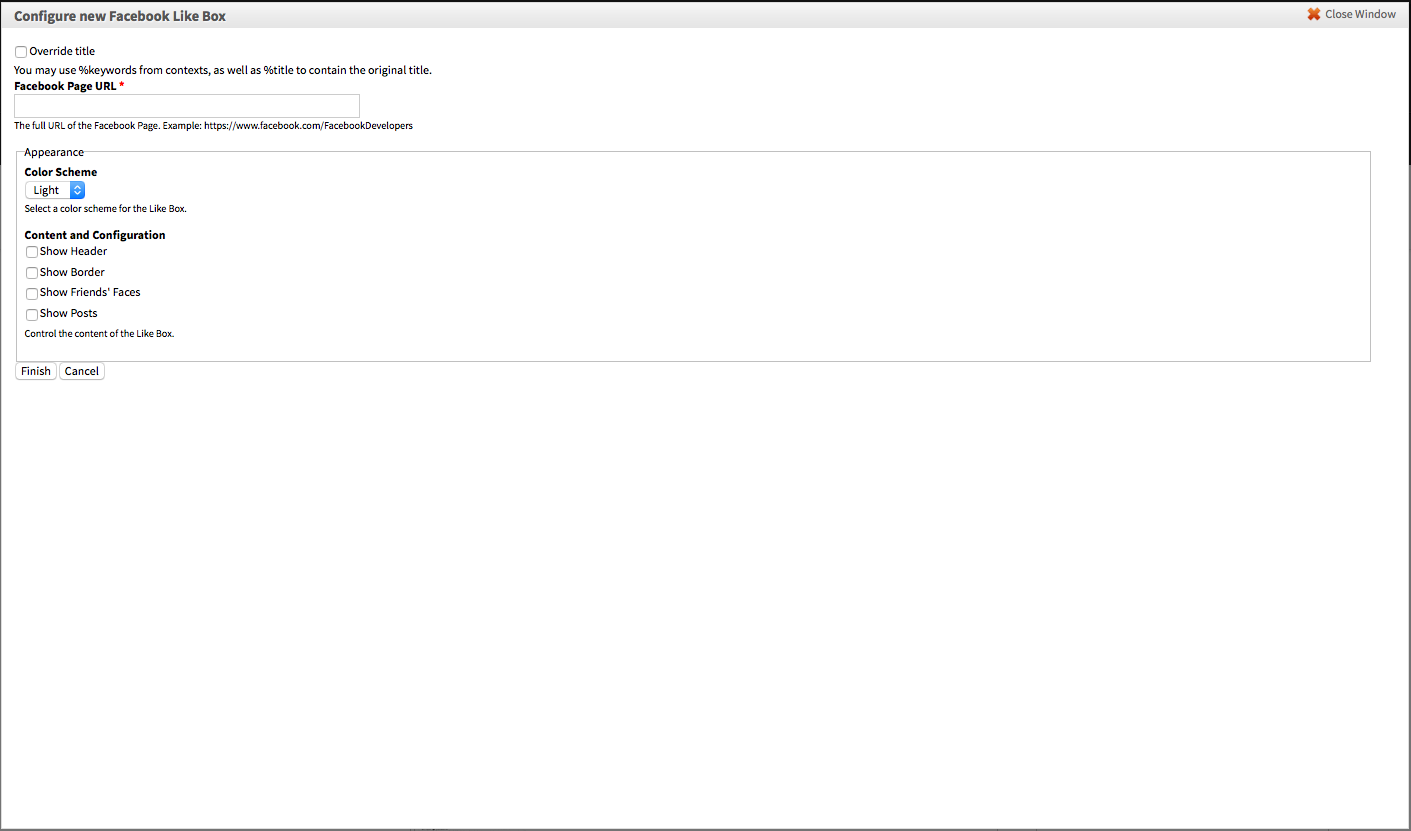
- Finally, set the configuration options as desired.
- Checking the 'Override title' box allows you to set a custom title for the content pane (by default, a Facebook Like Box will have no title).
- Enter the URL of the Facebook page you wish to link to in the 'Facebook Page URL' section. Make sure to use the entire URL so that the correct page can be located.
- In the 'Appearance' section you may select a different color scheme and decide whether to show a header, border, fiends' faces, or posts of the page in question. If you choose to display these things, they will appear within the box. These enable you to change the look and feel of the Like Box.
- Click "Finish" to save your settings and exit the overlay.
- You should now be back to your page, and the Like Box will display in the section it was placed into. To move it to a different section of the page, drag the content pane by the four-directional arrow until it is in the desired location.

- Click "Save" at the bottom of the page to finalize the location of the content pane. You have now successfully added a Facebook Like Box to your site!