This support article pertains to the SiteNow v1 platform. Click here for SiteNow v2 documentation.
Note: Only users with the webmaster role may manage Background Images.
About the SiteNow Background Image app
The SiteNow Background Image app lets you feature background images on pages of your website.

Note: The SiteNow Background Image app is currently only compatible with the Stellar theme. Enabling the SiteNow Background Image app and creating Background Images will have no effect on the appearance of your website when using other themes.
Image recommendations
The portion of the image that displays changes depending on the width of the window/device being used to view the website. It is recommended that the images you use be 1400px wide and 650px tall, with the subject of the image in the center half, as illustrated by the red outline in the image below.
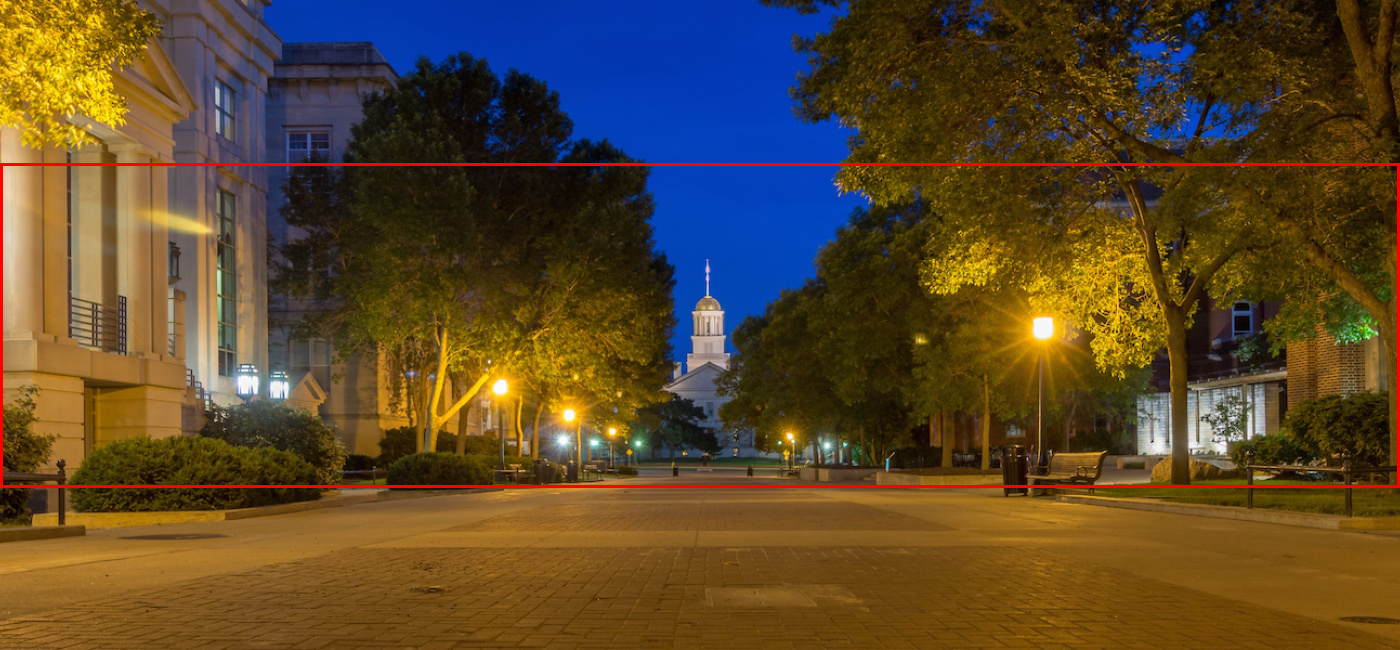
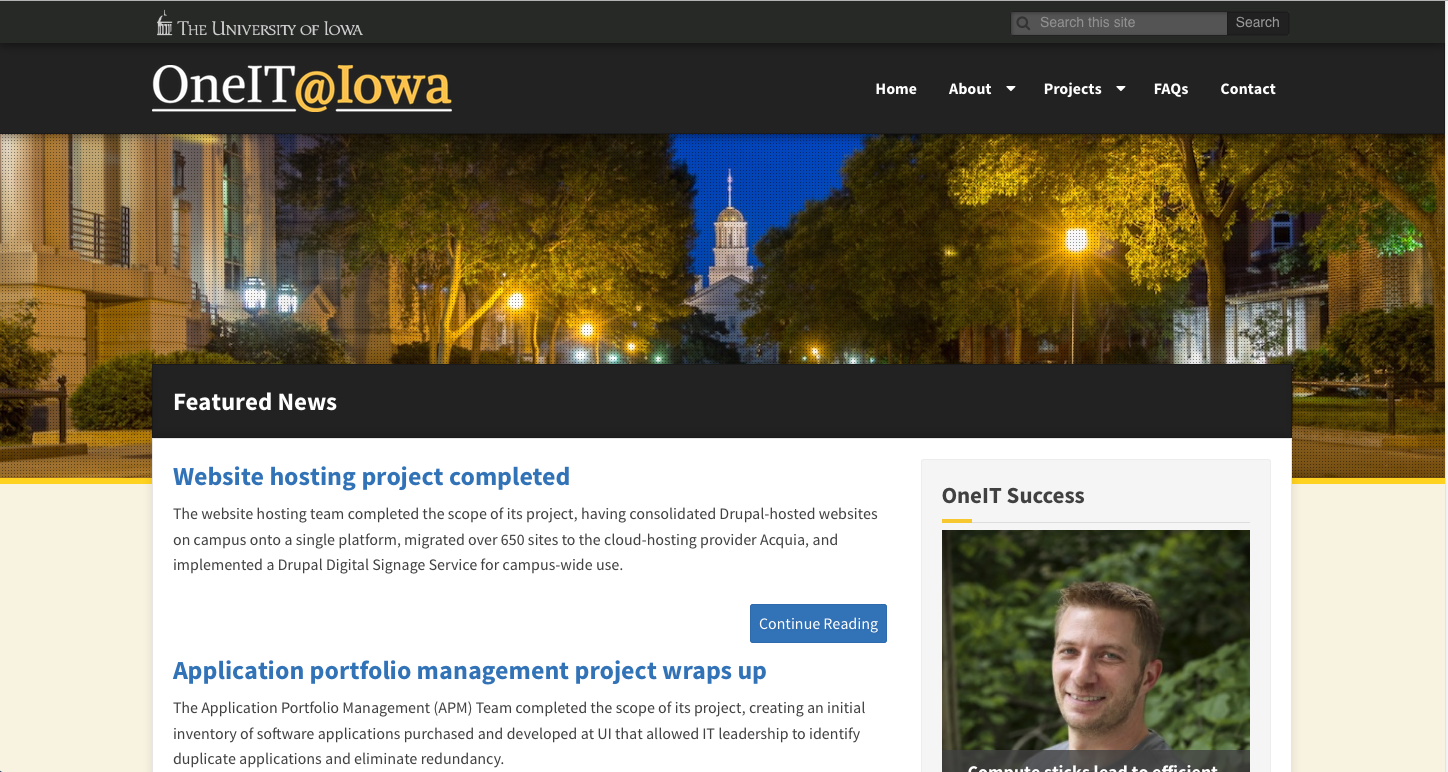
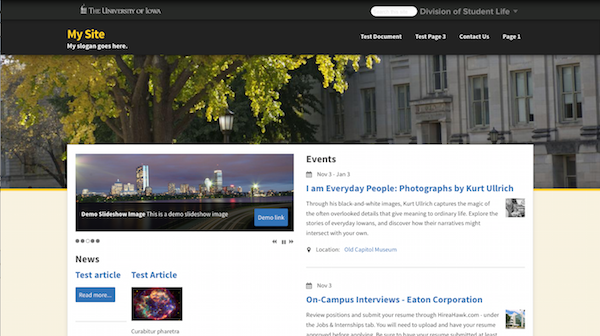
This image of the Old Capitol (without the red rectangle) results in the background image of the website in the image below.
Configure your website to display background images
- Enable the SiteNow Background Image app. Refer to the support article about enabling and disabling apps.
- Change the theme of your website to Stellar. Refer to the support article Changing the general look and feel.
Create Background Images
When the SiteNow Background Image app is enabled, users with the webmaster role may create content of the type Background Image.
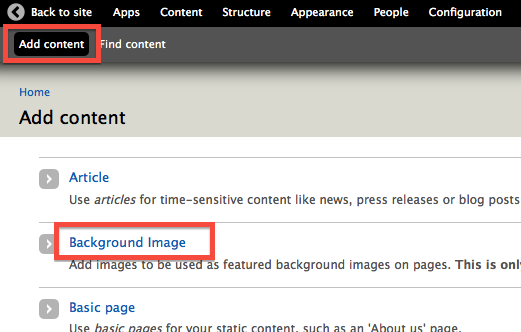
- Click 'Add content' in the shortcut toolbar and then click 'Background Image.'
- Fill out and submit the form to create a 'Background Image' node.
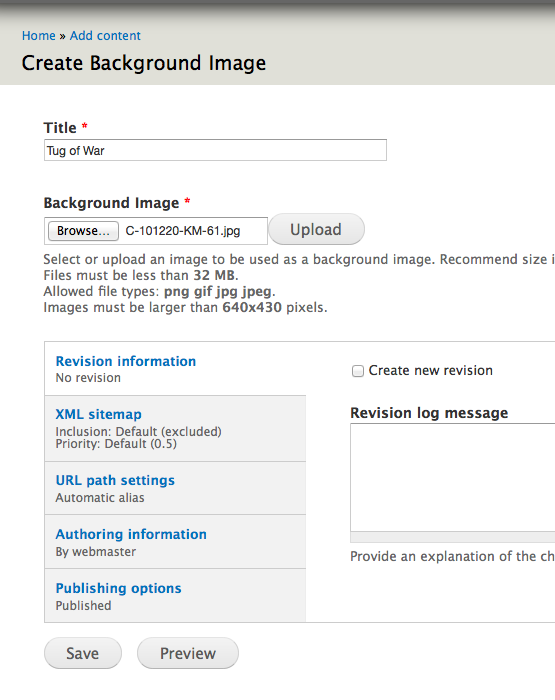
- In the 'Title' field, enter text to identify the image (the title is not displayed to visitors of your website).
- In the 'Background Image field, click the Browse button to select an image file from your computer to upload.
- Click the 'Save' button at the bottom of the form.
Configure the display of your Background Images
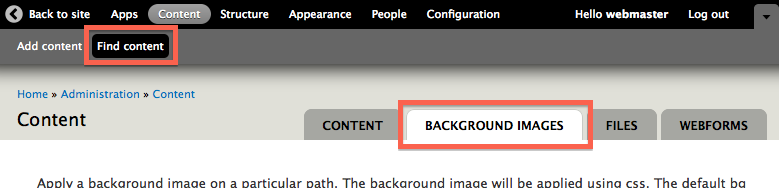
- Click 'Find content' in the shortcut toolbar and then click on the 'Background Images' tab.
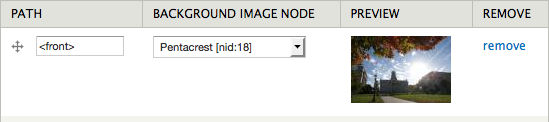
- Enter the path (relative to the base URL of your website) of the page on which to display the background image.
- Use "<front>" to display a background image on the homepage of your website.
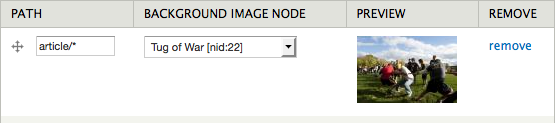
- Wildcards can be used by specifying "*".
For example, by default the path pattern of all Articles is article/[title]. To display the same background image on every Article, in the Path field enter "article/*".
- To display the same image on every page, in the Path field enter "*".

- Use "<front>" to display a background image on the homepage of your website.
- In the 'Background Image' field, select the title of the 'Background Image' node that you want to display. The option 'Random' will display a random background image and change the image displayed when the page is refreshed.
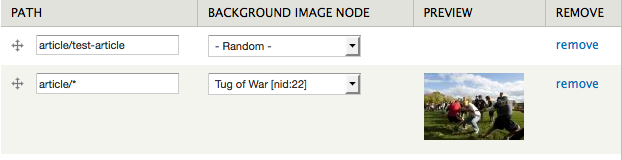
- Use the drag-and-drop four-arrow symbol to the left of each path to change the order of the configurations.
Background image configuration at the top of the list will take precedence over items lower in the list. For example in the image below, the Article with the path article/test-article will have a random background image and all other Articles will have the Tug of War background image.
- To remove the background image configuration for a path, click the 'remove' link. This will not delete the 'Background Image' node.
- Click the 'Save Changes' button to save your configuration.
Customize the focal point of a Background Image
When an image is uploaded on a Background Image node, it is automatically scaled and then cropped to 1400px x 650px. This may cause portions of an image you have uploaded to not display.
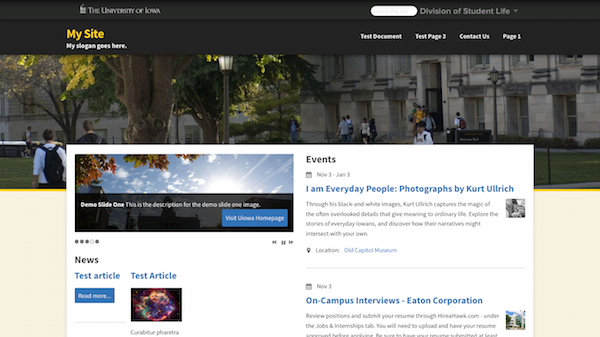
For example, when uploaded as a Background Image, this image of students walking in front of MacLean Hall

is displayed as follows, with only the tree and building visible:
This display of the image is not ideal if you would like to include the students walking in front of the building.
You can adjust the focal point of the image, which is a point of the image that will always be included in the cropped version of the image, to influence which portion of the original image is displayed as the page background.
To adjust the focal point of a Background Image:
- Go to the edit form of the Background Image you want to adjust.
- Click on 'Find content' in the gray shortcut toolbar at the top of the page.
- Click 'edit' in the Operations column for the content you want to edit.
- The default focal point (indicated by a crosshair on the thumbnail image) is the center of the image.
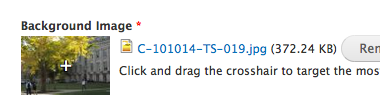
Click and drag the crosshair on the thumbnail image to where you want the focal point.
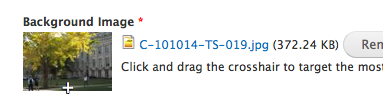
- Click the "Save" button at the bottom of the form to save your changes.
After adjusting the focal point, our background now includes the students.