This support article pertains to the SiteNow v1 platform. Click here for SiteNow v2 documentation.
Note: You need 'webmaster' access to your site in order to do this.
- When logged in, click on the 'Appearance' tab on the admin toolbar.

- Click on 'Settings' for the default theme displayed at the top of the page.
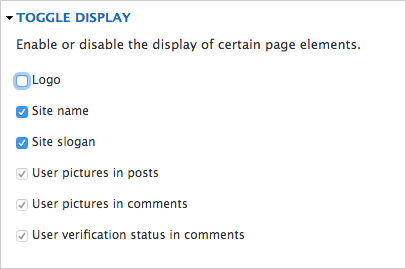
- Expand the 'Toggle Display' section and verify that 'Logo' is checked. If not, check it to make any logo appear.

- Expand the 'Logo Image Settings' section. Uncheck the box marked 'Use the default logo' to add your own logo to the site.

- Upload an image to be used as the logo. The image will be displayed on the website at its original size.
- Click the 'Save Configuration' button at the bottom of the page to save and implement changes.