NOTE: The FileMaker Administration team recommends that you restart your computer BEFORE attempting the steps below. If you have any issues installing FileMaker Pro using the instructions below, please work with your departmental IT support personnel.
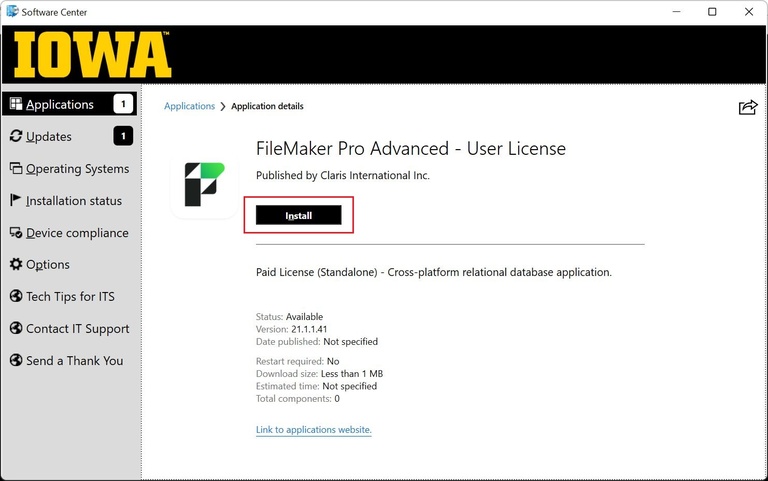
Installing FileMaker via Software Center on Windows
Click the Windows Start button, locate the "Microsoft System Center" folder and open "Software Center" or search for keyword "Software Center".

- Click on "Software Center" in the search results.
Click on the "Applications" tab.

- Select "FileMaker Pro Advanced" (or "FileMaker Pro")
Click on the "Install" button to start the installation.
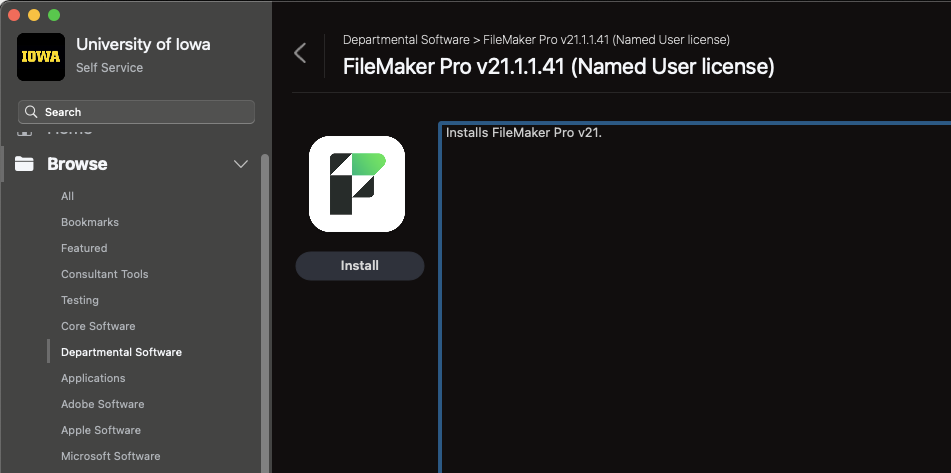
Installing FileMaker via Self Service on macOS
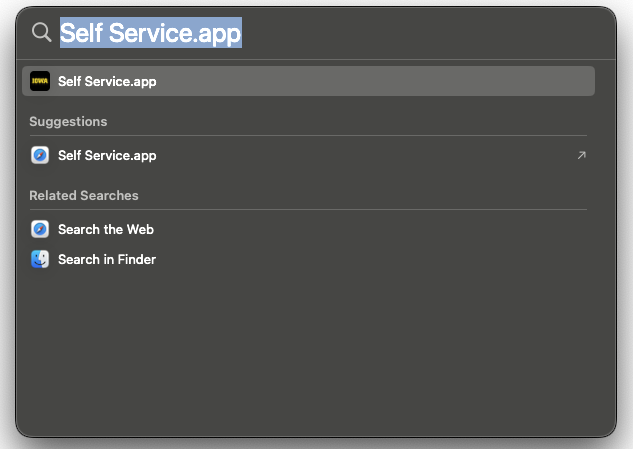
Launch the Self Service app. You can find the app in your Applications folder, or search for it using Spotlight Search by pressing CMD + Spacebar.
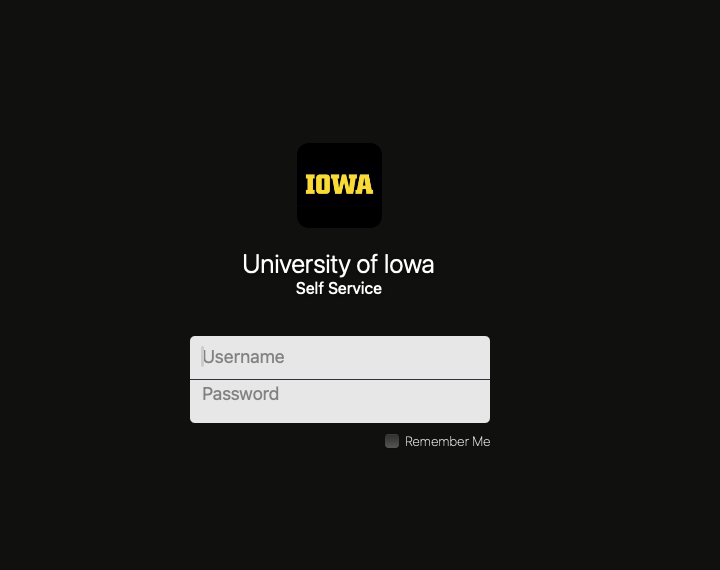
You may be prompted to log in. If so, log in with your HawkID and HawkID password.
Select the Departmental Software option in the sidebar to the left and scroll to find "FileMaker Pro" in the list. You can also use the search bar in the upper left-hand corner. Click the "Install" button to continue.

Click "Install" to install the application.