NOTE: You will need administrative access on your local computer to make the changes below. If you don't have administrative access, please work with your departmental IT support personnel to make the changes.
Modifying your hosts file on Windows
- Press the Windows key.
- Type Notepad in the search field.
- In the search results, right-click Notepad and select Run as administrator.
- Use Notepad to open the following file: c:\Windows\System32\Drivers\etc\hosts (the hosts file doesn't have a file extension, so if you don't see it at first you may need to change the file type filter in the lower right-hand corner to All types (*.*)).
Add the appropriate entries to the host file, similar to the example below:

- Select File > Save to save your changes.
Modifying your hosts file on Mac OS
- Launch Terminal by going to Applications > Utilities > Terminal.
- Enter the command below in the Terminal window to open the hosts file:
sudo nano /private/etc/hosts
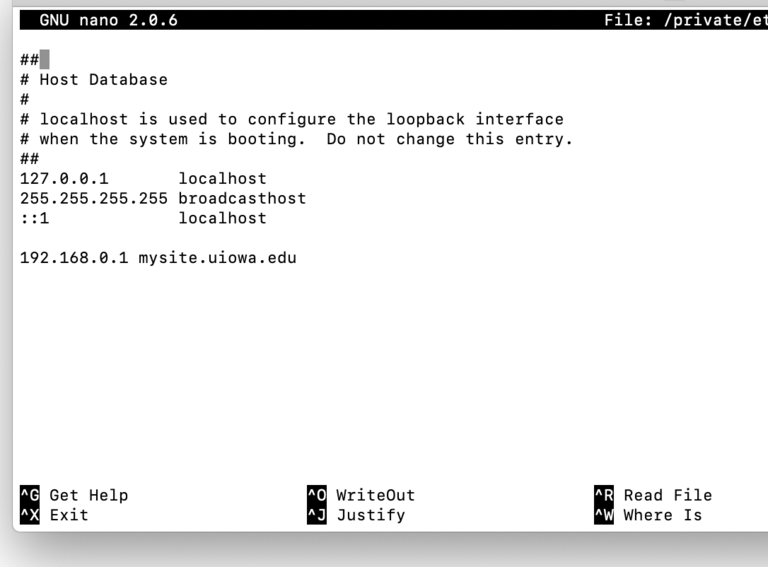
Add the appropriate entries to the hosts file, similar to the example below:

- Save the file by pressing Control+O.
- Close the file by pressing Control+X.
- You may need to flush your DNS cache for the changes to take effect. Type the command below in Terminal to flush your DNS cache:
dscacheutil -flushcache