ITS requires using the UI Anywhere VPN when connecting to a University of Iowa computer from off campus. For instructions on downloading, installing, and connecting to the VPN client, see the VPN support center.
This document will walk you through the steps of using Microsoft Remote Desktop from a Mac to Remote Desktop to a Windows PC.
Download Microsoft Remote Desktop to your Mac.
If you are on a Campus ITS Managed Mac, you can install this from the Self Service application in your Applications folder. The MS Remote Desktop install button in Self Service is in the Microsoft Software Category.
If you are on your personal home Mac, you will need to download Microsoft Remote Desktop from the Mac App store:
- After installation, run the Microsoft Remote Desktop application from your Mac's Applications folder.
You should be presented with the following window, click the Add PC button:

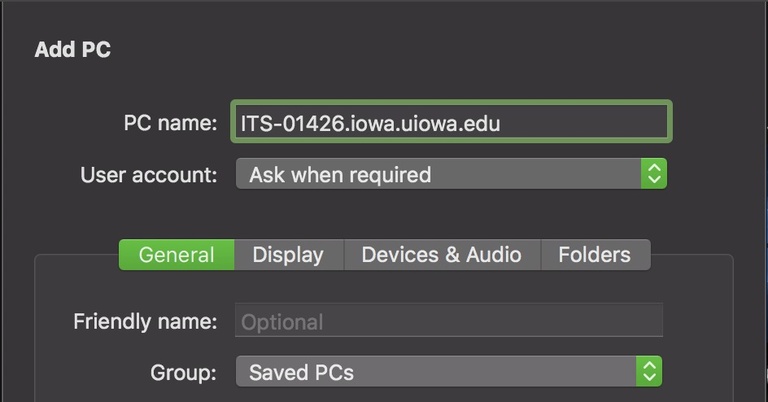
In the window that displays, enter your Campus PC's computer name followed by ".iowa.uiowa.edu" in the PC name: text box.
For this example we will use machine ITS-01426.
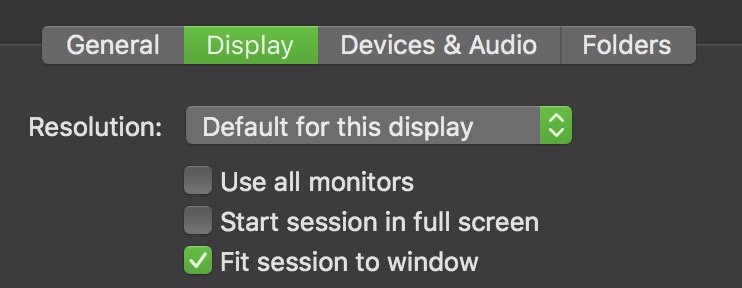
Then click the Display tab. Uncheck "Start session in full screen" and check "Fit session to window".
This will allow you to resize the Remote Desktop session window once connected.
Click the Add button when finished with this step.
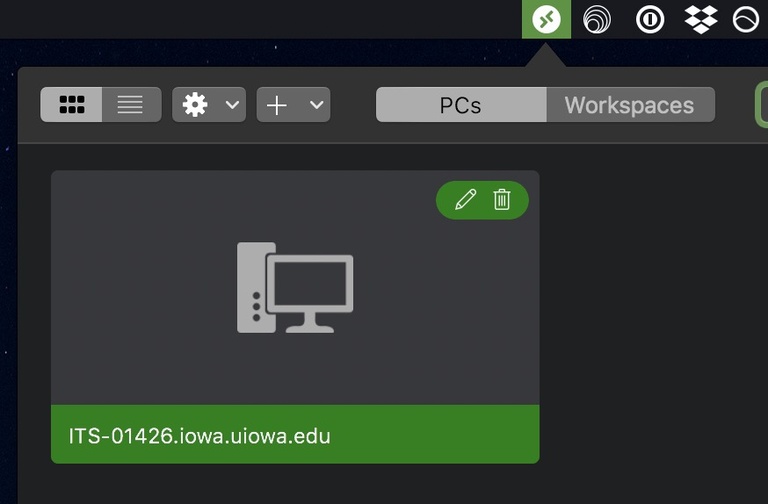
Double click the entry you just created.
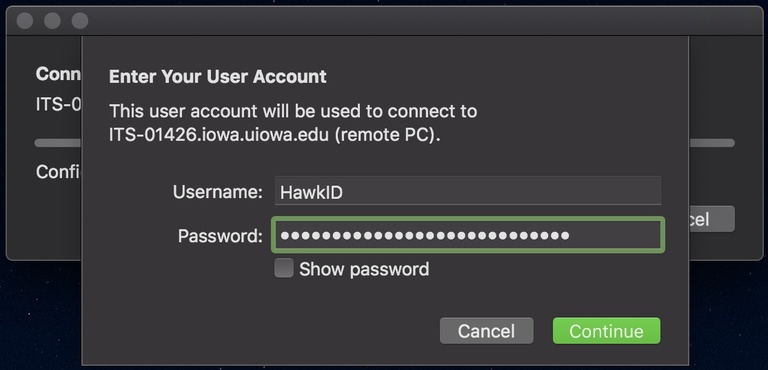
You will then be presented with a login window, enter your HawkID credentials and click the Continue button.
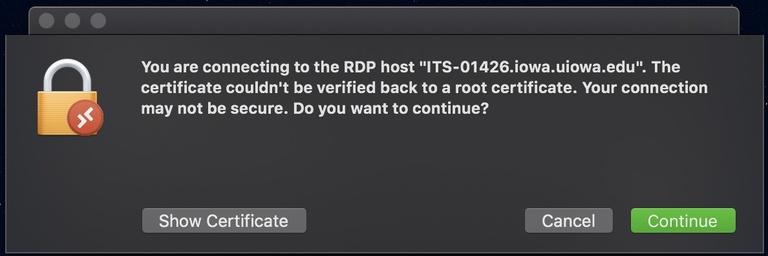
You will be asked if you want to continue as the certificate on the Campus PC can't be verified back to a root certificate.
Click the Continue button to complete the connection to the Campus PC.
