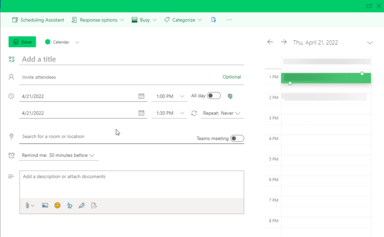
Outlook on the web for Microsoft 365 is browser-based (e.g., Microsoft Edge, Internet Explorer, Firefox, Google Chrome, Safari, etc.) access to your Microsoft 365 account. Outlook on the web works best for accessing your email when you have to use a public computer or when you are away from the office.
Mail is stored on the Microsoft 365 server so you can access your e-mail from any computer, wherever you are located. For instance, you can access it from work, home, hotel, library, etc. With Outlook on the web, you do not have to install an e-mail app on your machine. You open your web browser and type in a web address.
Logging in
- Open your web browser and go to https://office365.uiowa.edu
- In the HawkID field, type in your HawkID@uiowa.edu
- In the Password: field, type your HawkID password.
- Click Login
Note: If you have Two-Step Login with Duo Security, you will be prompted to complete log in using Two-Step Login with Duo.
IMPORTANT NOTE: When logging in for the first time, the time zone defaults to Monrovia, Reykjavik. Users will need to manually update the time zone to Central Time.
- After logging in, click Apps
- Click Outlook.
- Click the Settings icon located in the top right-hand corner of the screen
- On the menu located on the left-hand side of the screen, select General.
- Under Outlook settings | Time zone, click Change
- Change Display my calendar in time zone by clicking the down arrow and clicking (UTC-06:00) Central Time (US & Canada)
- Click X in upper right corner to save changes.
You can pin the Outlook app to your list of apps by clicking Apps | right click on Outlook and select Pin
Moving Between Mail, Calendar, and People
To switch to your Calendar, click the Calendar icon
You can then view your calendar, add meetings, view other calendars, etc.
To switch to your Contacts, click the Contacts icon
You can then view your contacts, add new contacts, and edit existing contacts.
Moving Between Microsoft 365 Applications
- Click the App Launcher icon (located in the upper left corner) to choose the tool you want to use (Outlook, OneDrive, Word, Teams, etc.)
More detailed instructions from Microsoft -- Getting Started in Outlook Web App
NOTE: The default timeout for inactivity in Microsoft 365 OWA is 6 hours.


