Log in with UI HawkID
When logging in to Globus, select the University of Iowa organization to use your HawkID.
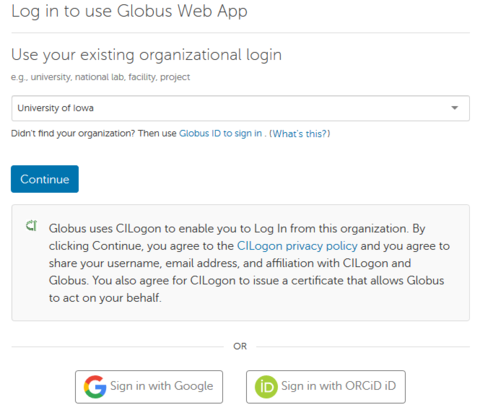
You will be directed to a University of Iowa HawkID login page, enter your HawkID credentials there
Connect to a collection
Enter uiowadata#data in the Collection field, this is the name for our globus server which connects to LSS and HPC storage. If you are not a user of Argon you need to request access by emailing research-computing@uiowa.edu
A collection allows authorized Globus users to browse and transfer files. Collections can also be used for sharing data with others and for enabling discovery by other Globus users.
Browse Files in File Manager page
Navigate within the collection using the Path field.

Your path will initially be /~/, your home directory on the data.hpc.uiowa.edu server. This is separate from your Argon home and has very limited space. It should not be used to store data.
Available paths within the uiowadata#data Collection:
- /Shared/ Shared LSS filesystems
- /Dedicated/ Dedicated LSS filesystems
- /nfsscratch/argon/Users/HawkID your personal space in Argon /nfsscratch
- /scratch/Users/HawkID your personal space in Argon /scratch
- /hpchomes/argon/HawkID your home directory in Argon
Bookmark a specific path
You can save bookmarks for specific collections and paths you want to access frequently with the Bookmark icon to the right of the path text box.

Transfer Files
To transfer files you need to specify two endpoints, either two different collections or two different paths within the same collection, on the left and right sides of the File Manager page.


Select the directories or files to be transferred by clicking on them. Highlighted files will be transferred. Between the two Start buttons is a dropdown for Transfer & Sync Options which includes information about the options.

Click the Start button indicating the direction you want to transfer files. A notification that the transfer has begun will appear and a badge will be added to the Activity item in the command menu on the left.

The transfer will complete on its own, you will receive email confirmation when it is complete and it will appear on the Activity page as completed.
Transfer files to your computer
For small numbers and sizes of files, HTTP upload/download is enabled to transfer directly within your internet browser. Select the files or folders to transfer and pick Download or Upload from the context menu.
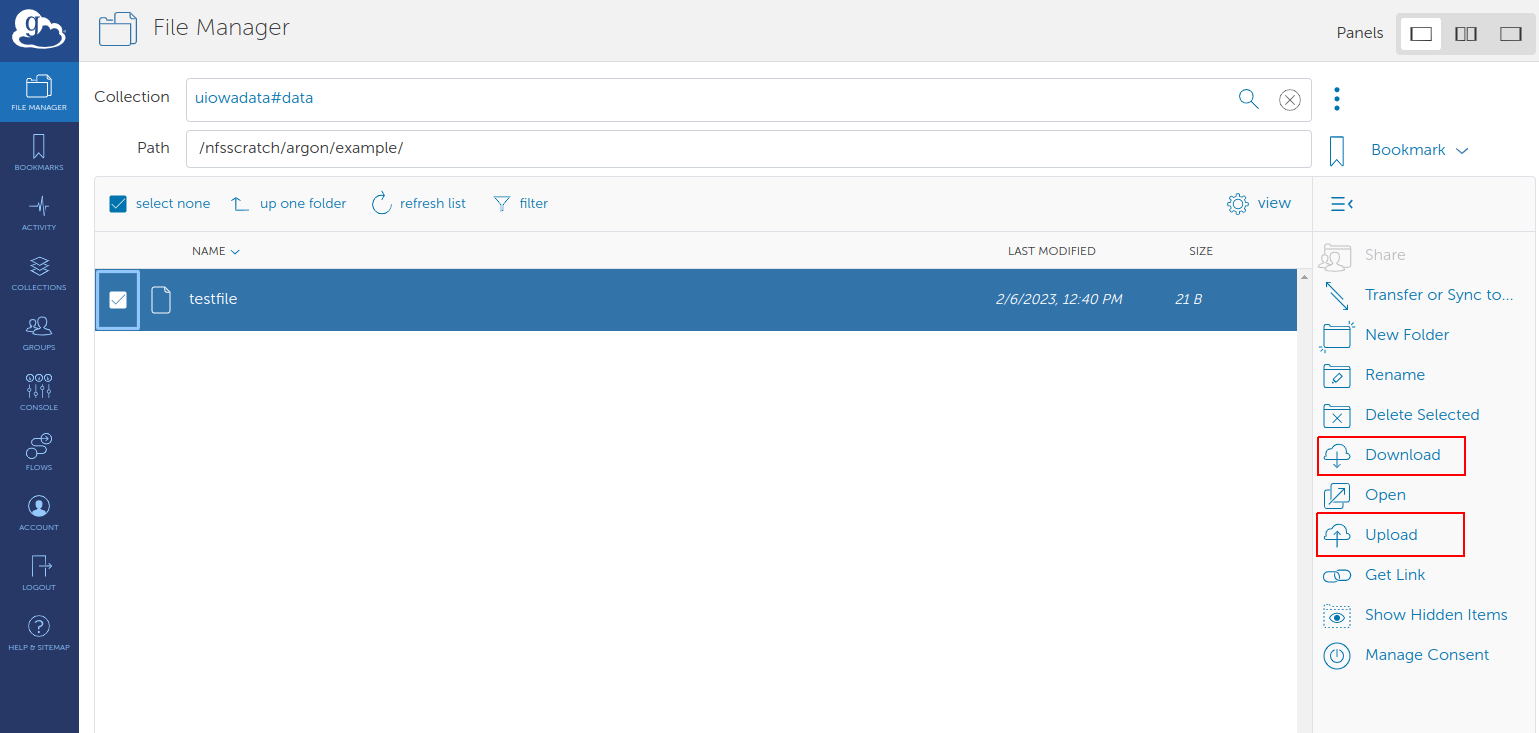
To transfer larger files or total data amounts more quickly, install the Globus Connect Personal application. You will create a collection name for a directory on your computer, this can be entered in the Collection field in the Globus web app.