This support article pertains to the SiteNow v1 platform. Click here for SiteNow v2 documentation.
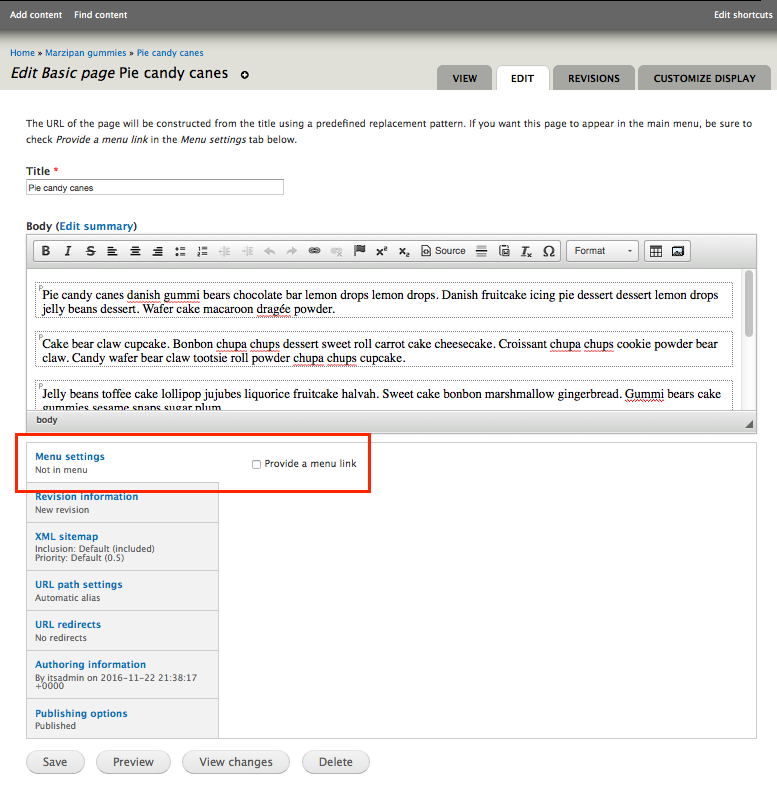
- Login to the website and go to the edit form of the piece of content you want to create a menu link for (if the content has already been created). You will already be on the edit form if you are in the process of creating the content.
- Toward the bottom of the form, on the 'Menu Settings' tab check the 'Provide a menu link' box. This will cause additional fields to be displayed.
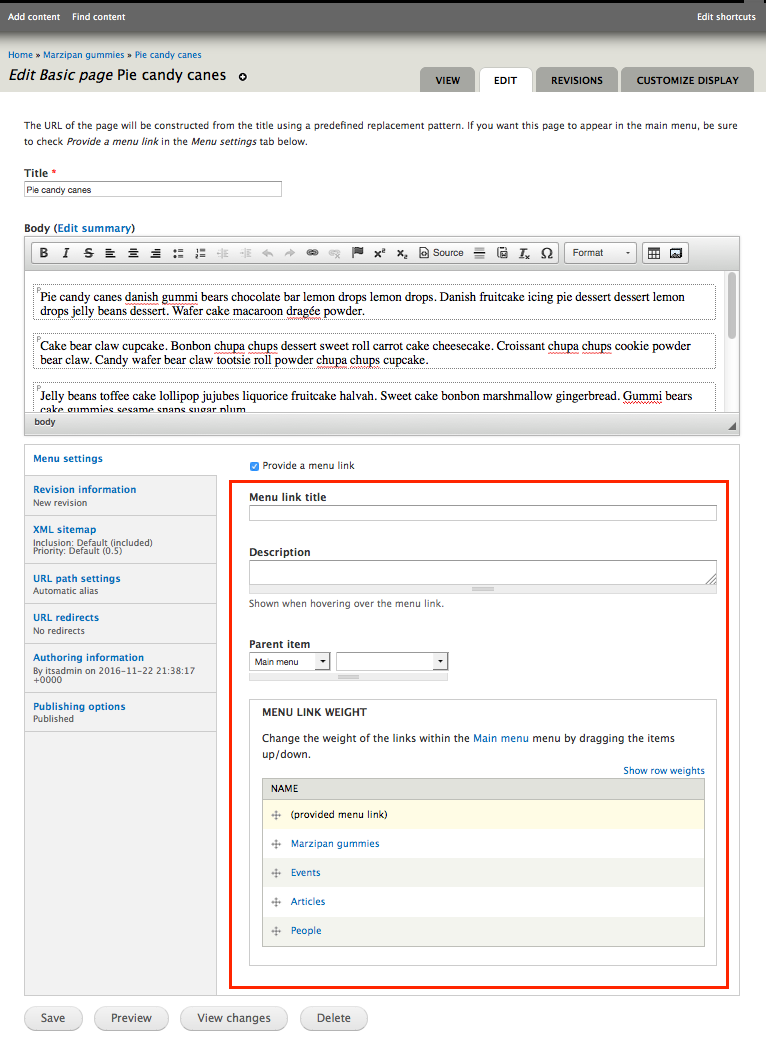
- Enter information into the additional fields that are displayed after checking the box.
- In the menu link title field, provide the text to display for the menu link. By default this will be the same as the title of your page, though you may change this if you like.
- Optionally provide a brief description, which will be displayed when a visitor hovers over the menu link.
-
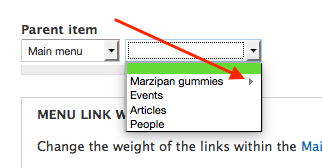
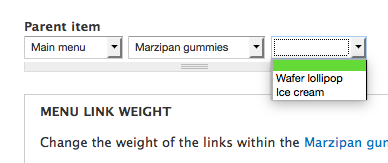
Use the drop-downs in the parent item section to select the parent item of the menu link one level at a time.
Menu items which have children are denoted with a triangle. When a menu item with children is selected, another drop-down list containing the next level of menu items will appear to the right.
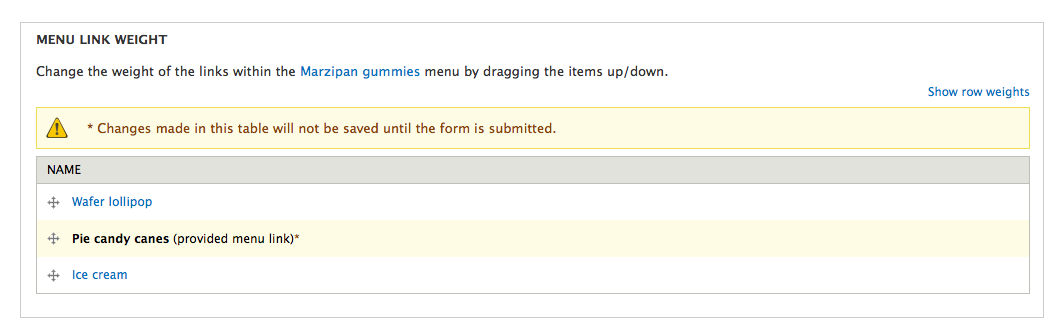
- In the menu link weight section, use the handles to the left of the menu link names to drag and drop the links up/down so that they are in the order you want.

- In the menu link title field, provide the text to display for the menu link. By default this will be the same as the title of your page, though you may change this if you like.
- Click the 'Save' button at the bottom of the form to implement your changes.
See the Glossary of Terms for SiteNow (Drupal) for definitions of specific terms.