This support article pertains to the SiteNow v1 platform. Click here for SiteNow v2 documentation.
Images which are uploaded to your website through a field (ie, images which are not included in a text area) may be cropped after they are uploaded. If an image is unusable in its current form, you will be prompted via a red popup window to crop the image.
-
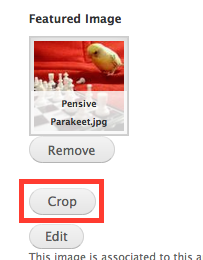
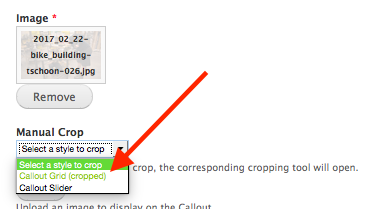
After uploading an image, click on the Crop button or select a style to crop in the Manual Crop list.

-
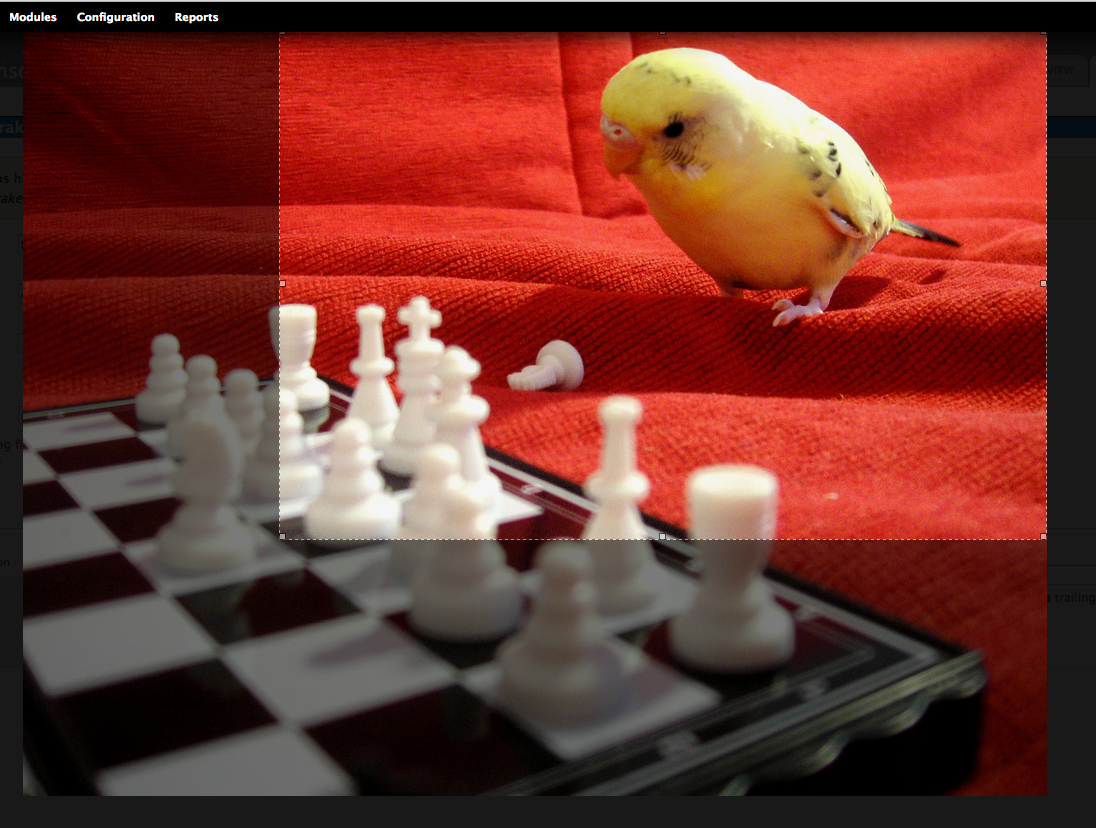
Select the area you want to crop. Use the handles around the crop area to re-size the cropping selection area. Click and drag the cropping selection area to move the selection area.
Alternatively, you may want to click 'Maximize selection' at the bottom of the screen for quick and effortless cropping.
-
Click the 'Save' button at the bottom right of the screen. This will close the cropping overlay.

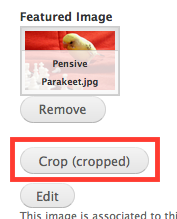
The Crop button on the edit form or the name of the crop selection in the Manual Crop list will include "(cropped)" to indicate that the image has been cropped.
-
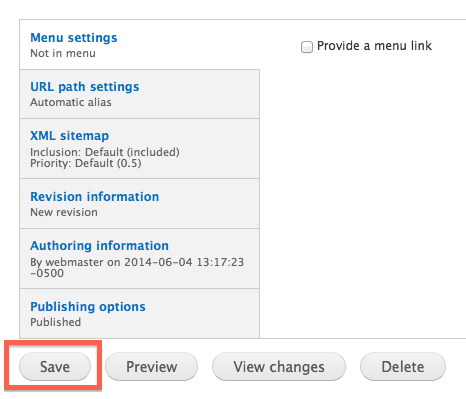
Click the "Save" button at the bottom of the edit form when you are done.