This support article pertains to the SiteNow v1 platform. Click here for SiteNow v2 documentation.
The steps below will not work for new Twitter Timelines and are provided only as a reference for sites which have embedded timelines with this method.
For the current steps to add a Twitter Timeline, please see Adding Social Media Content.
- Create a new timeline widget while logged in to Twitter.com. We recommend creating a new widget from the account responsible for your website (not your personal account) for easy discovery by your team and customization as your site changes.
- Go to the page you would like to add a Twitter feed content pane to. Make sure that you are logged into the site and have the correct permissions to create content. At the bottom of the page, in the middle, click the button that reads 'Customize this page.'
- You should now be able to see the different regions of the page. In the blue 'Content' bar that appears near the top of the screen, click the plus symbol.
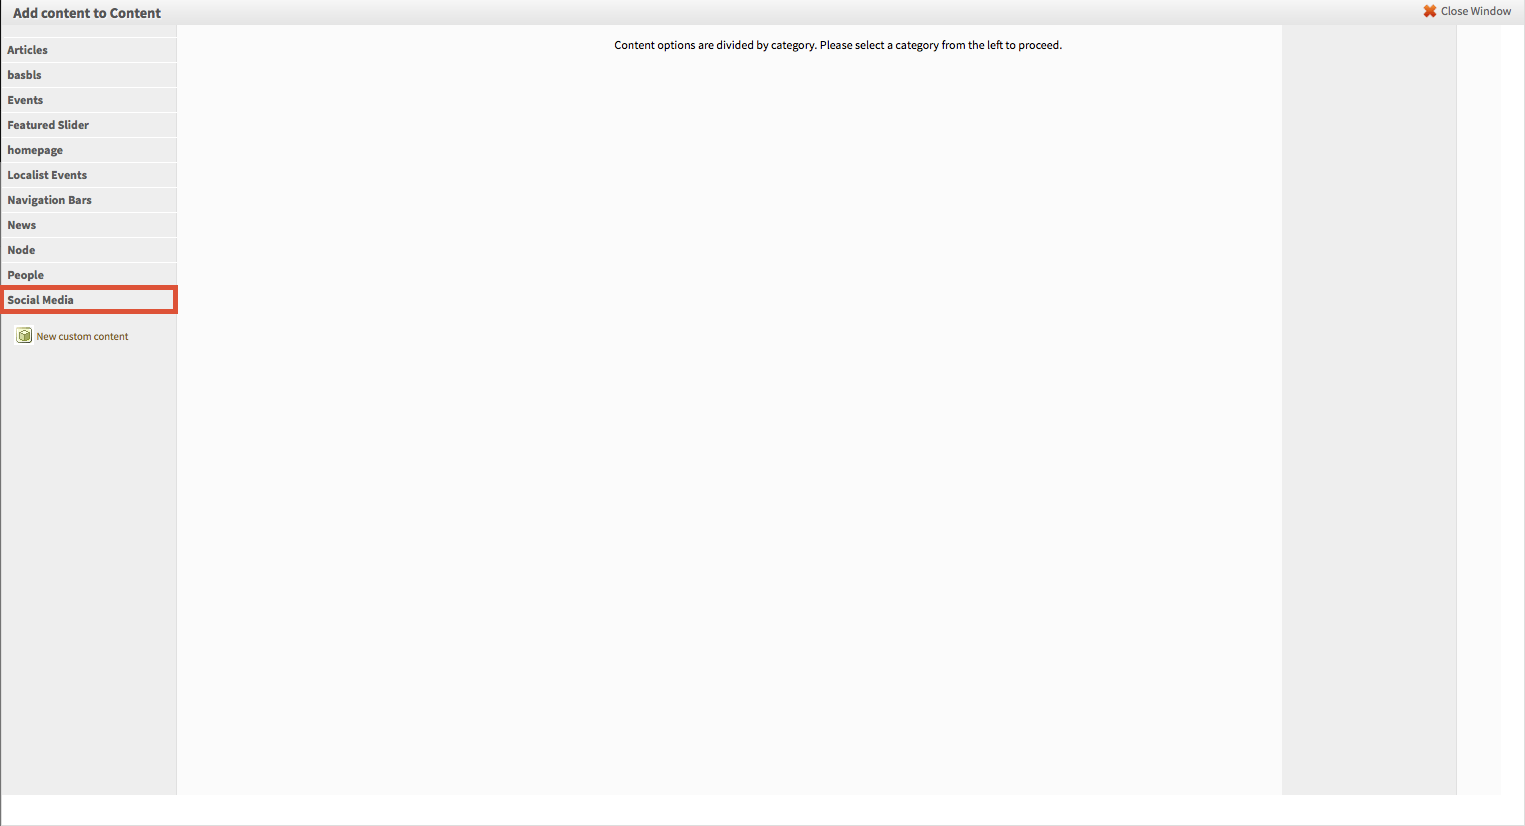
- On the 'Add Content' overlay that pops up, there is a list of content pane types on the left. Click on the "Social Media" tab, towards the bottom.
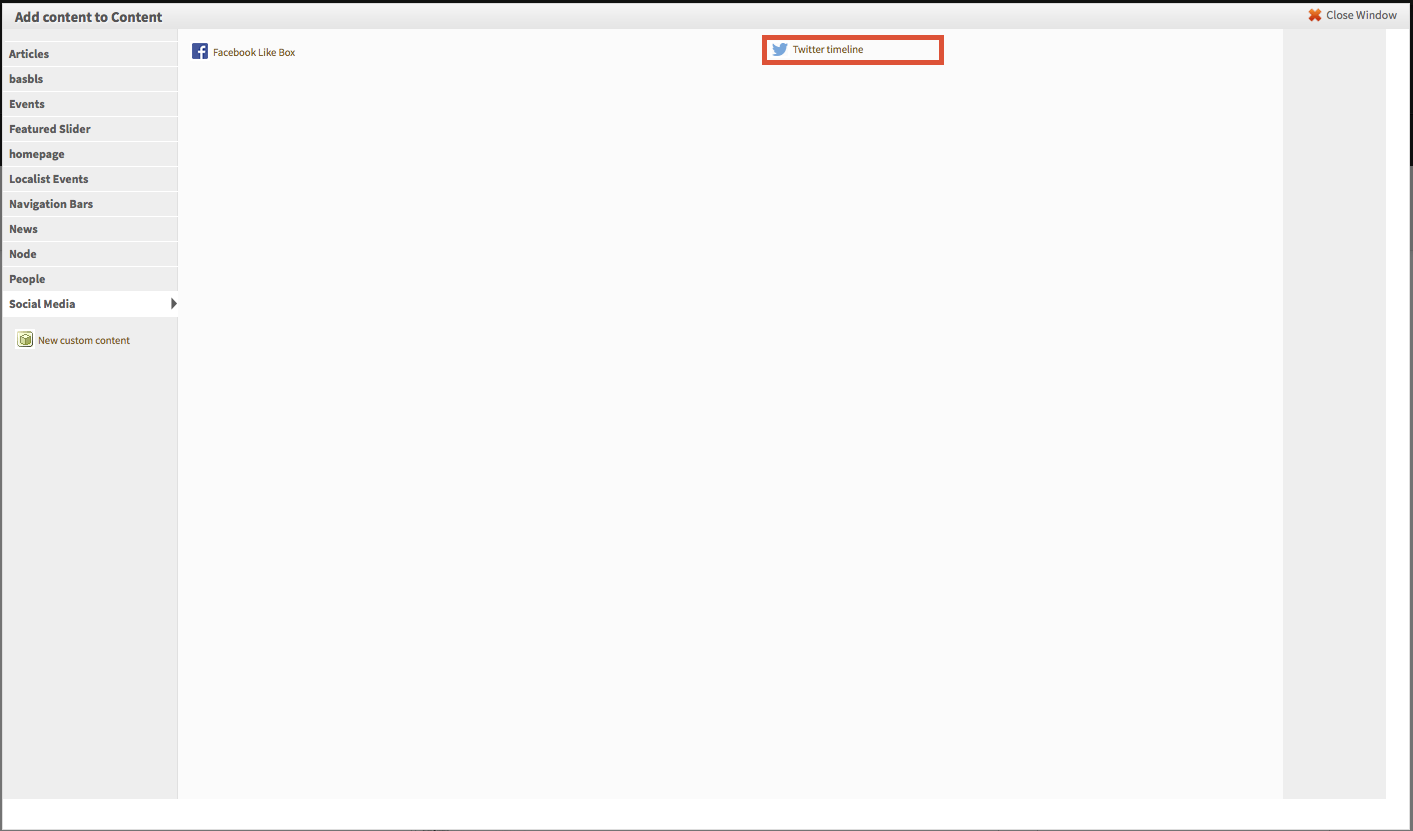
- Select the desired type of social media link (in this case, "Twitter Timeline")
- Finally, set the configuration options as desired.
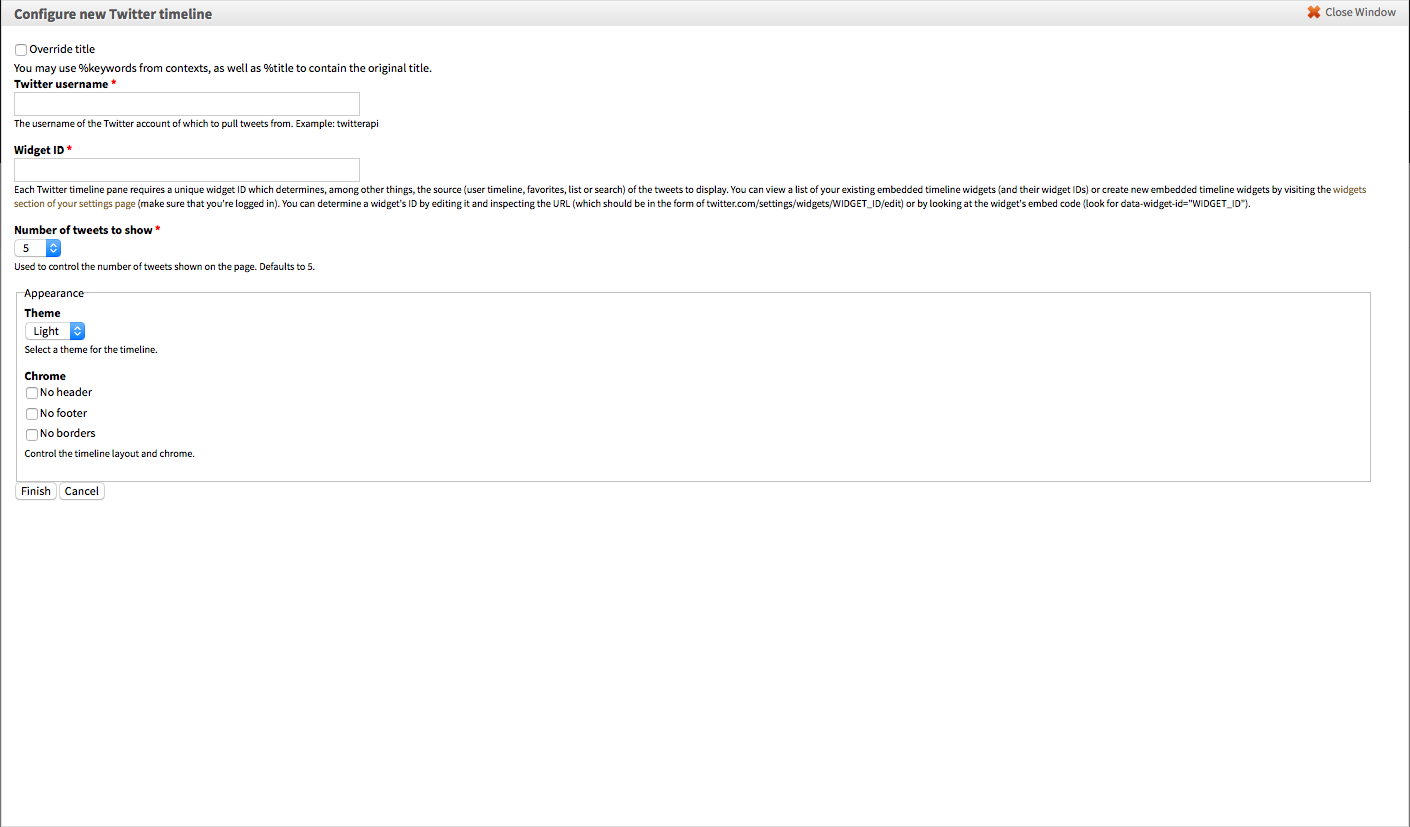
- 'Override title' will replace the default title of this pane with a title of your choosing. If left blank the title will remain whatever it is by default.
- 'Twitter username,' a required field, should contain the username of the Twitter account you are adding to the page.
- 'Widget ID,' also required, refers to the unique widget ID of the timeline you wish to add to your site. This widget must be created by logging on to the Twitter account you are using. You can determine a widget's ID by editing it and inspecting the URL (which should be in the form of twitter.com/settings/widgets/WIDGET_ID/edit)
- 'Number of tweets to show' allows you to set a maximum number of tweets that the timeline will show at one time.
- Appearance' settings in this section will change the way the timeline looks on the site. Changing these settings will not affect the content, only the way it looks.
- Click 'Finish' to save your settings and exit the overlay.
- You should now be back to your page, and the timeline will display in the section it was placed into. To move it to a different section of the page, drag the content pane by the four-directional arrow until it is in the desired location.

- Click 'Save' at the bottom of the page to finalize the location of the content pane. You have now successfully added a Twitter timeline to your site!
More information about creating a timeline on a twitter account, as well as the different types of timelines that can be created, is available at https://dev.twitter.com/web/embedded-timelines.