- Login to the website.
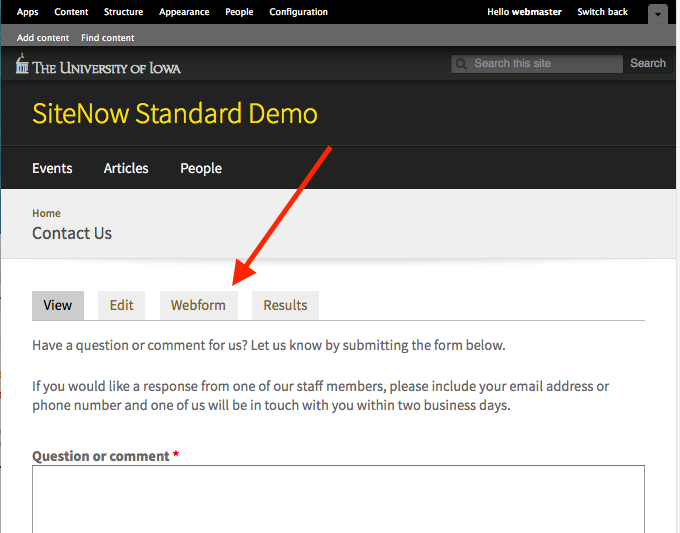
- Navigate to the webform and click on the Webform tab.
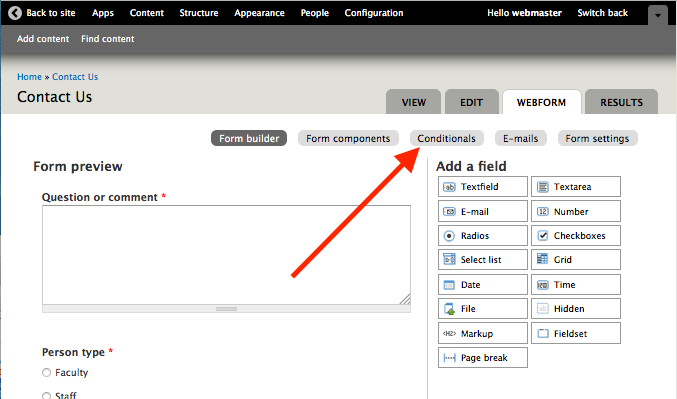
- Click the Conditionals link.
- Add your conditions and then click the Save conditions button at the bottom of the page.
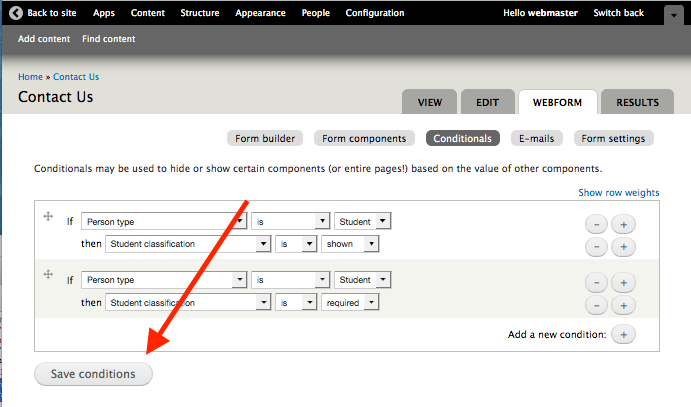
Suppose you have a webform with a radio field titled "Person type" with the options Faculty, Staff, and Student and a radio field titled "Student classification" with the options Freshman, Sophomore, Junior, and Senior.
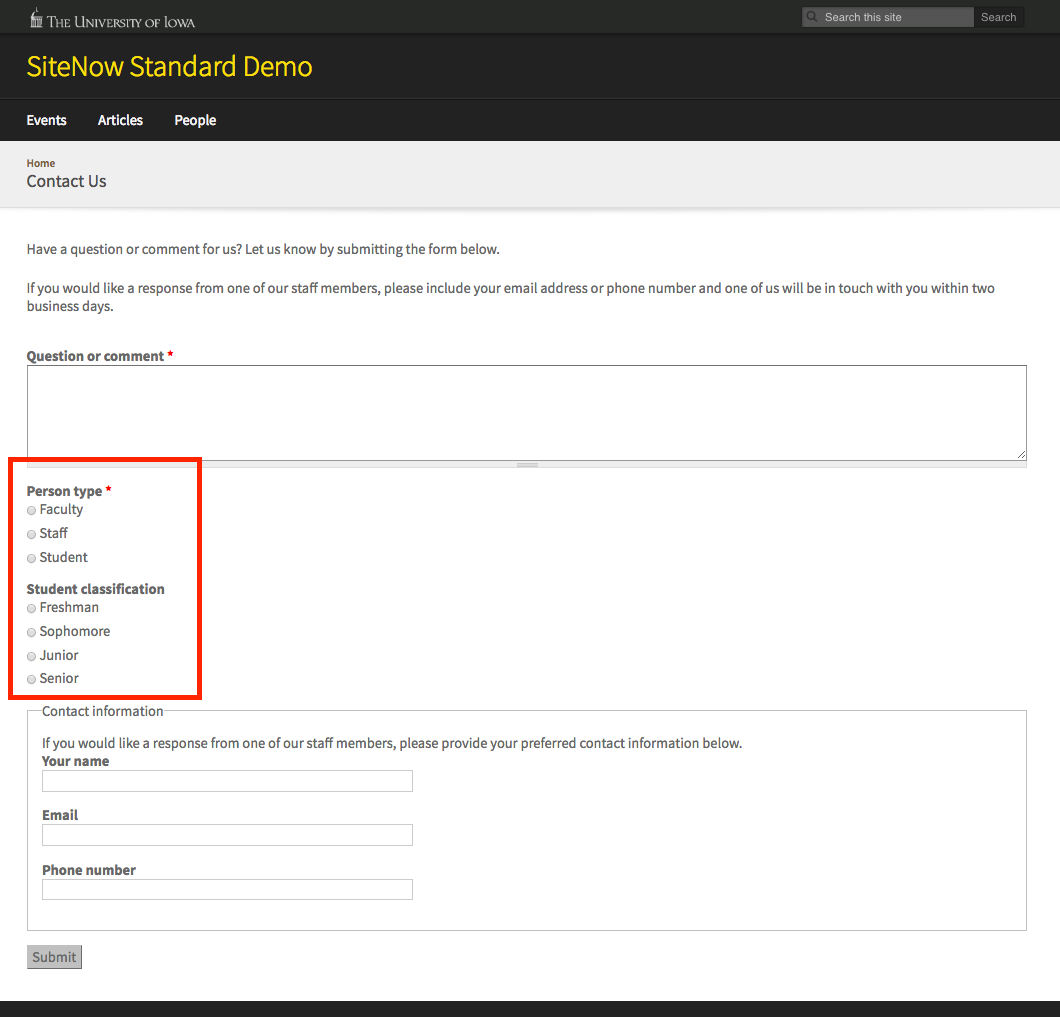
If the user selects the "Person Type" Student, you want to know what their classification is (freshman, sophomore, junior, or senior). However, you do not want to display the "Student classification" field to users who identify as Faculty or Staff.
- Add a condition to show the "Student classification" field when the value of the "Person type" field is "Student".

- Add a condition to require the "Student classification" field when the value of the "Person type" field is "Student".

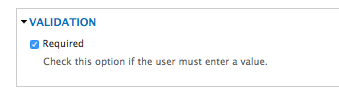
Note: The "Person type" field must be configured as "required" for this to work.
You will receive a message with a link to change this configuration if the field is not already required.

Follow the link and check the box for "Required" in the "Validation" section, then click the "Save component" button at the bottom of the page.
- Click the "Save conditions" button at the bottom of the page.
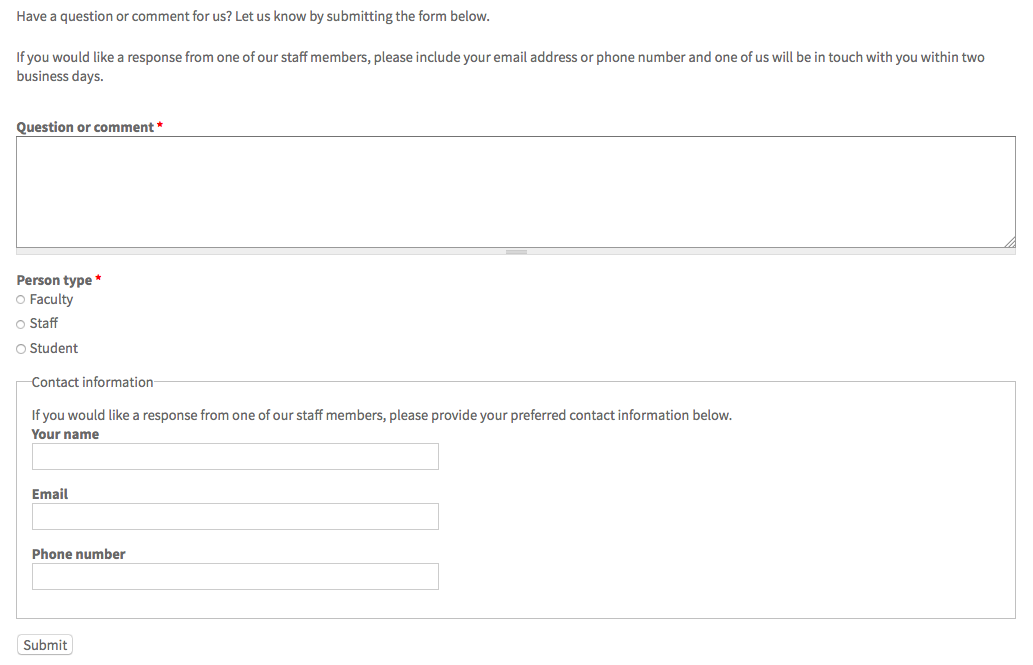
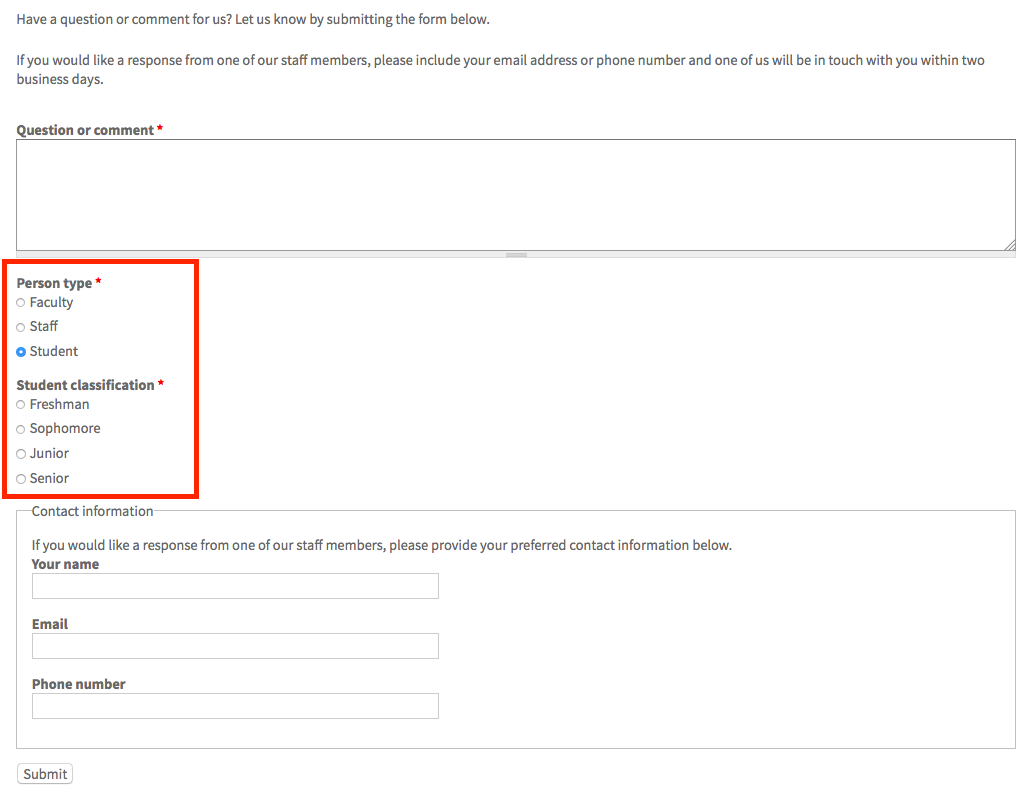
Now when the form is viewed, the "Student classification" field does not display and is not required unless the "Person type" selected is "Student".
The default state of the form. Note that the Student classification field does not display.
The state of the form when the Person type selected is Student. Note that the Student classification field is displayed and is required.
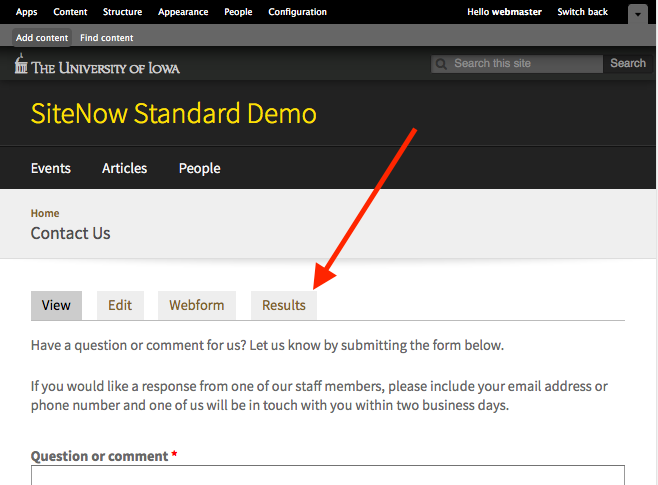
To view, download or delete webform submissions:
- Login to the website.
- Navigate to the webform and click on the Results tab. Then...
To view submitted data
- Click the Submissions link. Note: This is the default results page, so if you may not need to click this link.
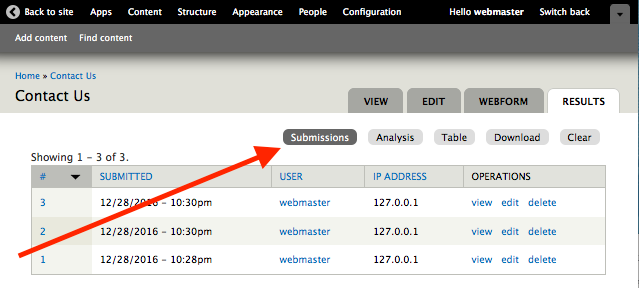
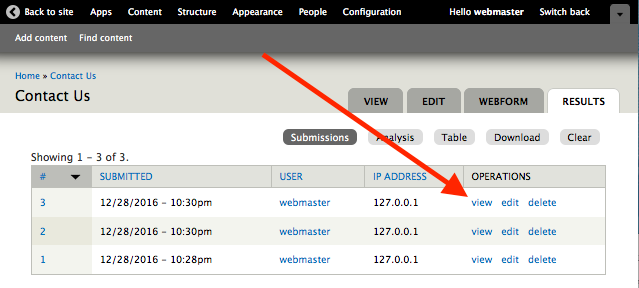
- To view a single submission, click on the view link for the submission.
- To view an analysis of the submitted data, such as the number of submissions per component value, calculations, and averages, click on the Analysis link.
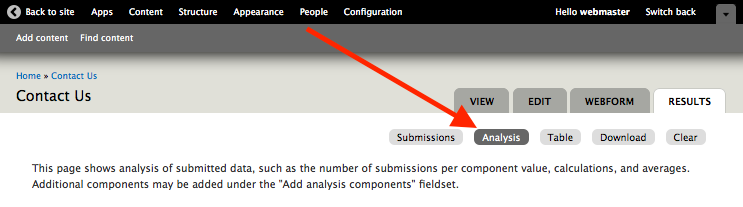
Additional components may be added to the analysis in the Add analysis components fieldset. Note: You may need to click on the Add analysis component heading to expand the fieldset.
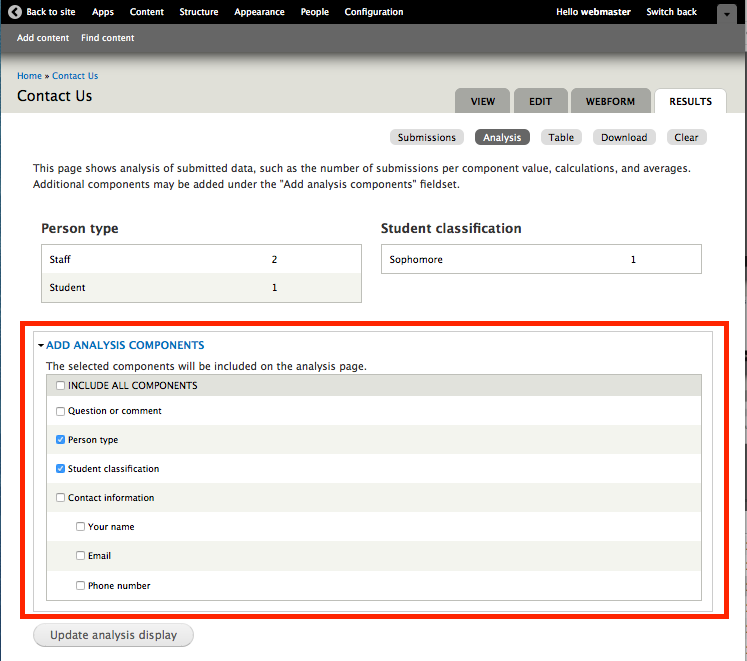
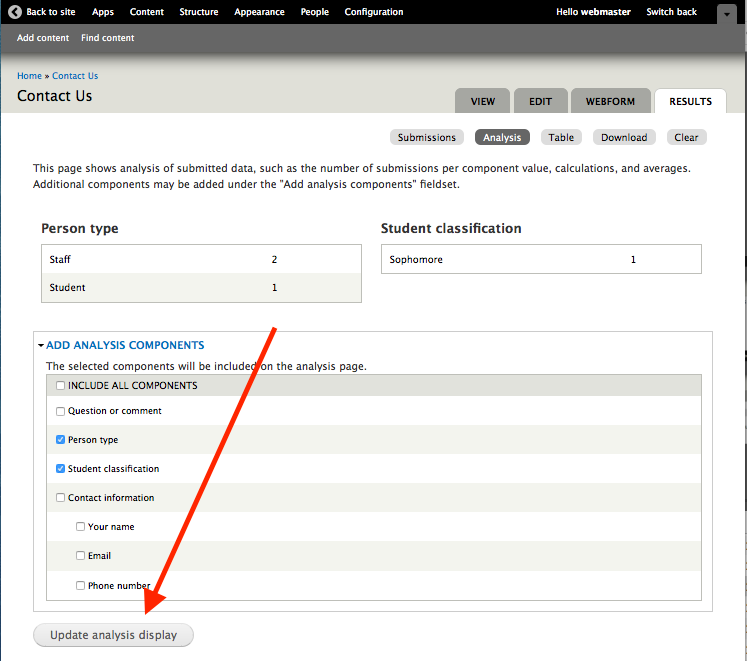
After adding additional components, click the Update analysis display button to refresh the analysis.
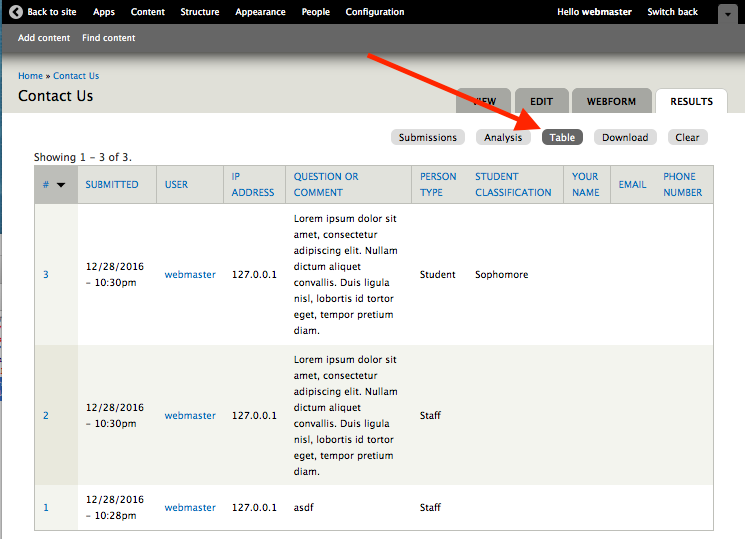
- To view the submission results in a table, click the Table link.
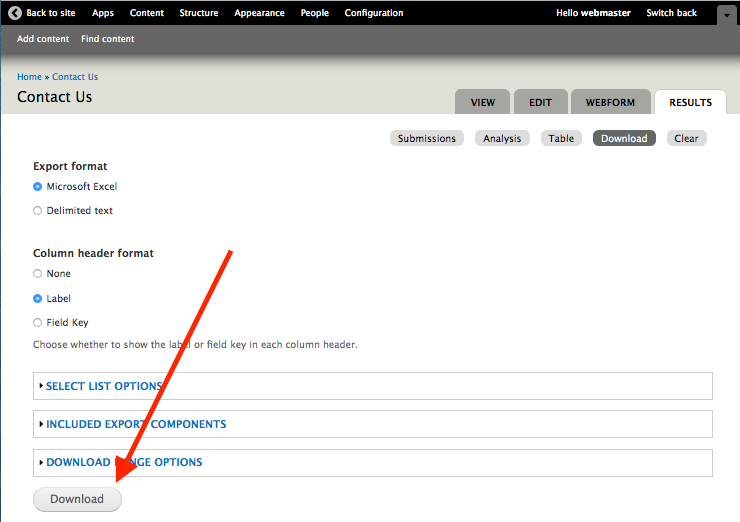
To download submitted data
- Click the Download link.
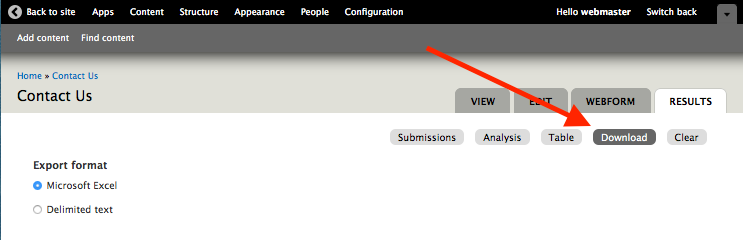
- Configure the download and export options, then click the Download button at the bottom of the page.
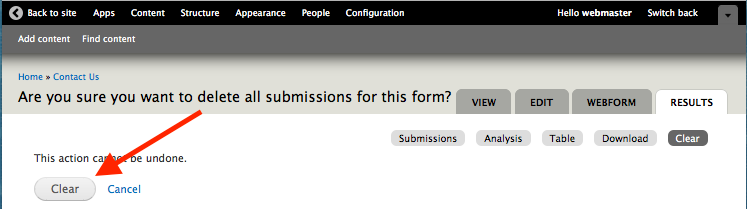
To delete all submitted data
- Click the Clear button.

- Confirm that you want to delete all submissions for the webform by clicking the Clear button at the bottom of the page.
Often when a user submits a webform it is desired to send an email notifying someone of the submission or to the user confirming their submission.
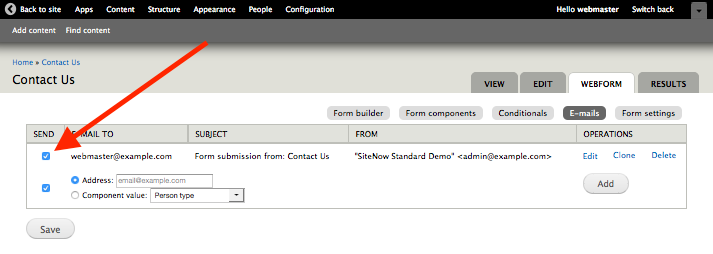
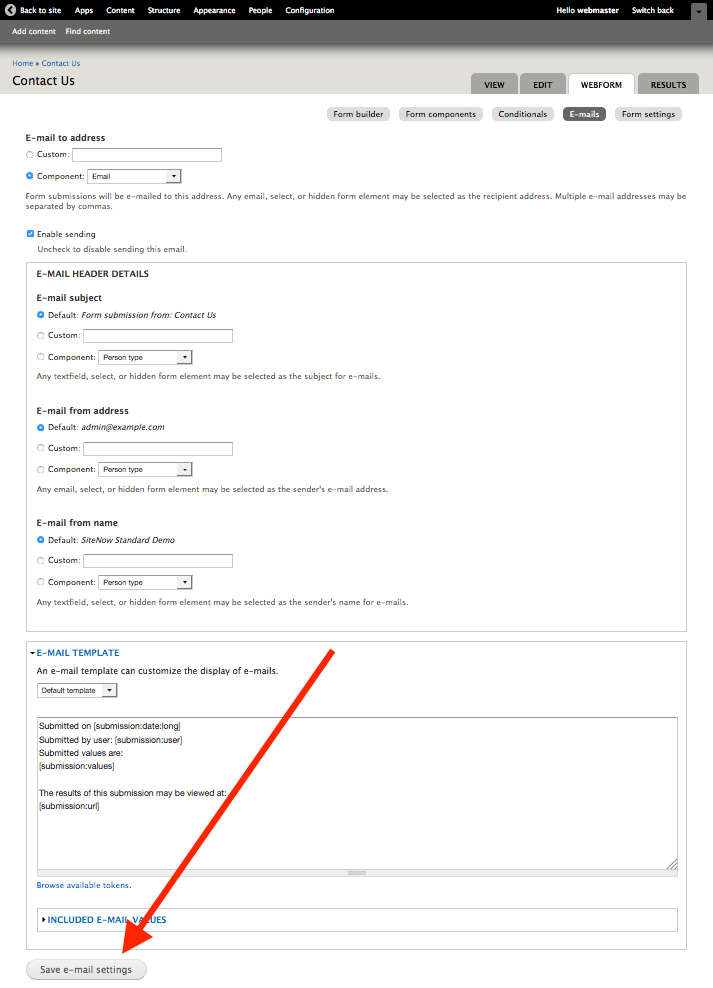
To send an email to a specific email address
- Login to the website.
- Navigate to the webform and click the Webform tab.
- Click the E-mails link.
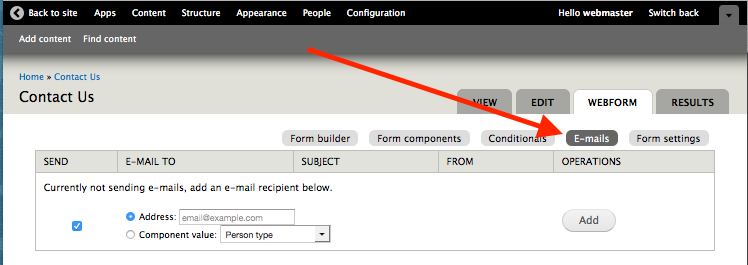
- Enter the email address of the recipient in the Address field.

- Click the Add button.
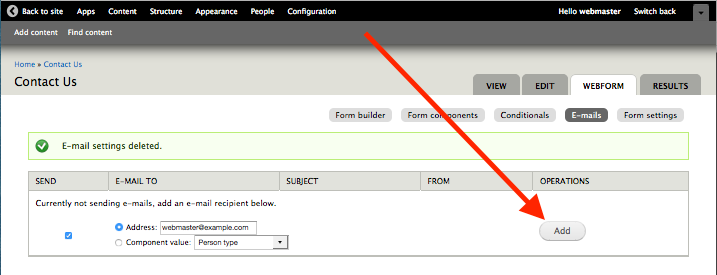
- Configure the email to be sent and then click the Save e-mail settings button at the bottom of the page.
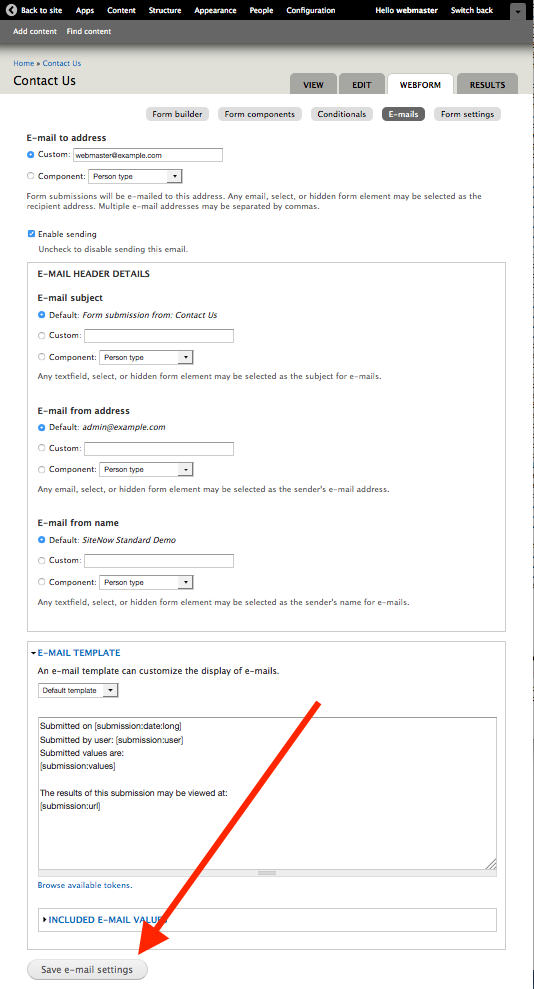
Note: Be sure that the checkbox in the Send column is checked (it is checked by default), otherwise no emails will be sent to this recipient.
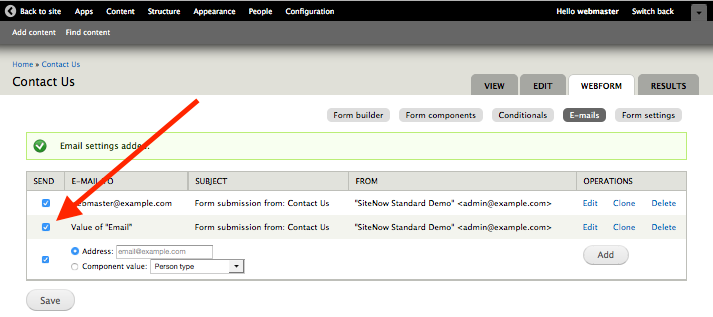
To send an email to a user-provided email address (e.g., to the user submitting the form)
Note: To send an email to a user, the form must include an E-mail field to collect an email address from the user. For information about adding fields to a webform, please see the support article How to create or edit a webform.
- Login to the website.
- Navigate to the webform and click the Webform tab.
- Click the E-mails link.
- In the Component value drop-down list, select the field being used to collect the email address.
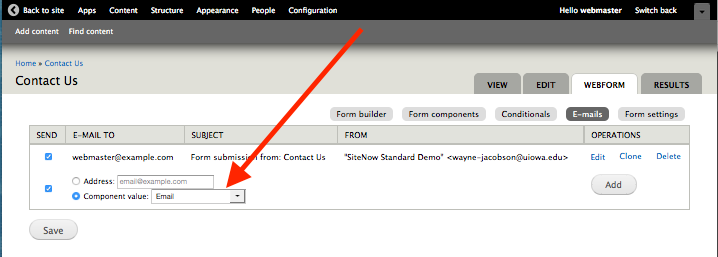
- Click the Add button.
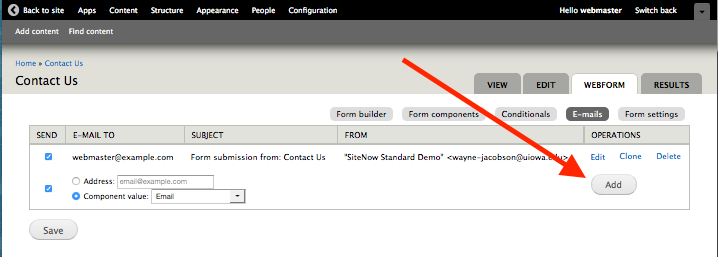
- Configure the email to be sent and then click the Save e-mail settings button at the bottom of the page.
Note: Be sure that the checkbox in the Send column is checked (it is checked by default), otherwise no emails will be sent to this recipient.
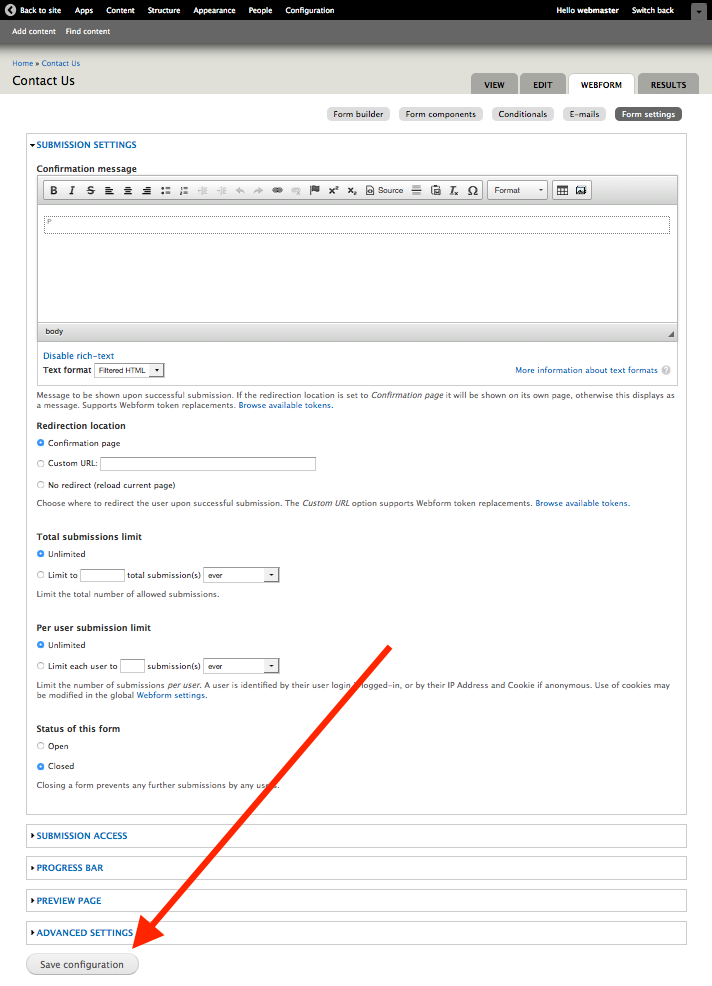
- Login to the website.
- Navigate to the webform and click the Webform tab.
- Click the Form settings link.
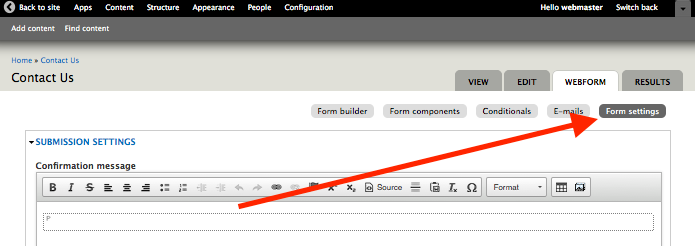
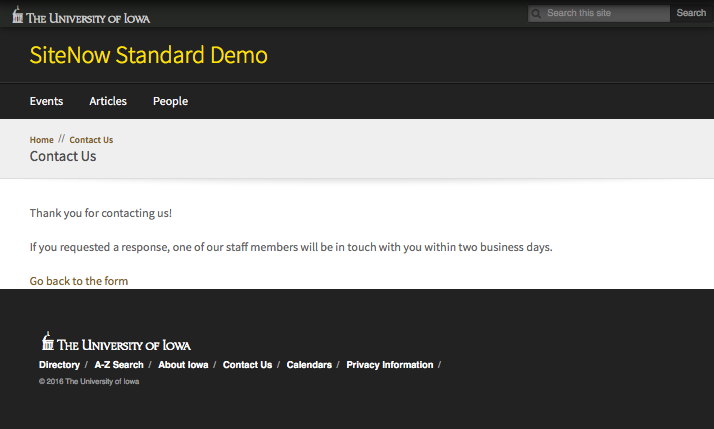
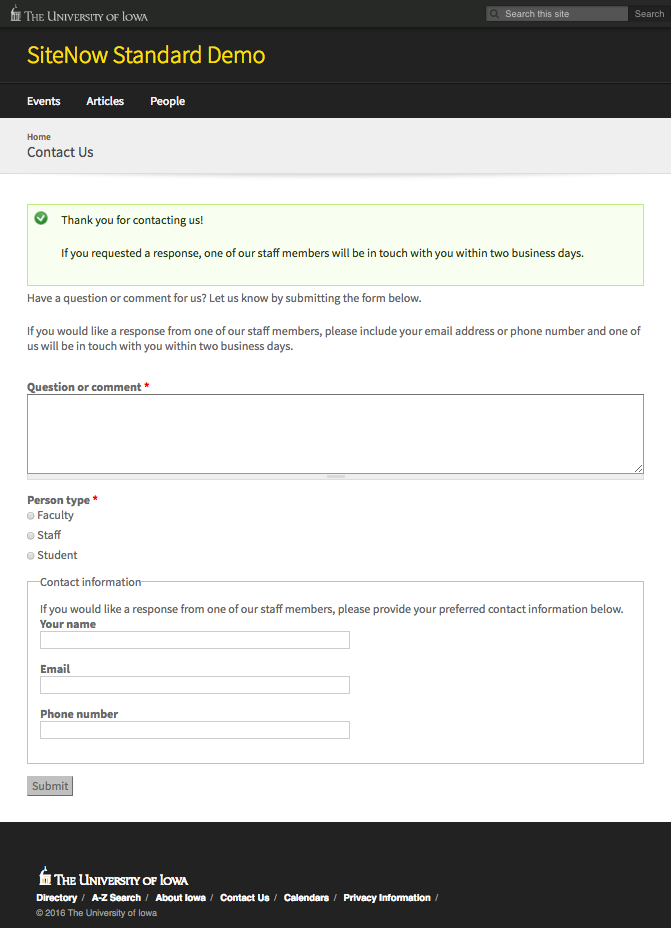
- Enter your message in the Confirmation message text area.
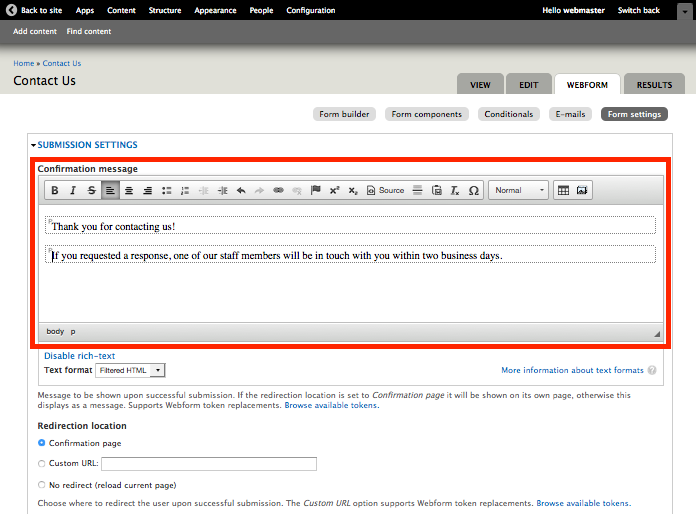
- Select where your message should be displayed using the Redirection location field.
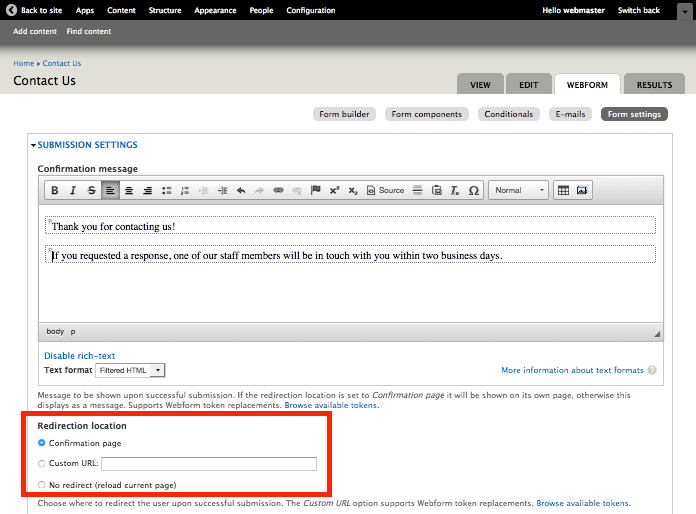
- Confirmation page - the confirmation message will be displayed on its own page.
- No redirect - the confirmation message will be displayed as a message on the webform page.
- Confirmation page - the confirmation message will be displayed on its own page.
Closing a form prevents any further submissions by any users.
- Login to the website.
- Navigate to the webform and click the Webform tab.
- Click the Form settings link.
- In the Submission Settings section, change the Status of this form to Closed.
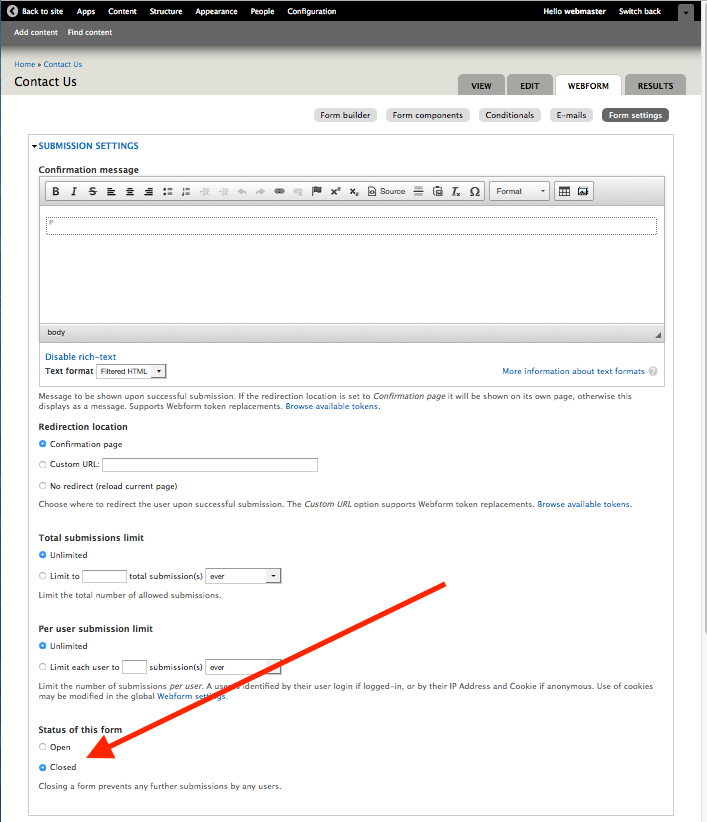
- Click the Save configuration button at the bottom of the page.